Clay Crafting Masterclass
Everything you need to know about polymer clay science, texturing tools, extruder mechanics, liquid clay frostings, and foolproof oven curing.
Polymer Clay 101 & Safety Guide
Polymer clay is a synthetic modeling medium composed of PVC resin and liquid plasticizers. It stays soft at room temperature until heat-cured, making it the perfect medium for realistic miniature food sculpting.
Warning: Polymer clay is not food safe. Do not use any containers, dishes or tools to eat or cook with after using them for clay projects.
Key Rules & Techniques:
- • Polymer clay is NOT food safe. Never use cookware, plates, or utensils for real food after using them for polymer clay.
- • Always wash your hands thoroughly with soap and warm water immediately after crafting.
- • Designate a dedicated craft knife, rolling pin, and baking sheet solely for clay use, and always use aluminum foil to bake on.
- • Work on a smooth non-porous surface such as a ceramic tile, glass cutting board, or craft silicone mat.
Clay Baking Temperature & Time Chart
Curing polymer clay requires consistent, gentle heat to cross-link the plasticizer polymers without scorching sensitive white or pale dough colors.
Key Rules & Techniques:
- • Optimal Toaster Oven Temperature: Lowest setting, approximately 200°F (93°C).
- • Baking Duration: Around 5 minutes for small miniature food pieces.
- • Toaster ovens heat quickly and can have hot spots—always place clay in the center on aluminum foil.
- • To prevent breaking or brittleness right after baking, immediately immerse the hot piece in a bowl of cold water for a few minutes!
Step-by-Step Method:
Set toaster oven to the lowest temperature (~200°F) and allow 3 minutes to stabilize.
Arrange clay creations on aluminum foil so bottoms don't become overly glossy.
Watch through the window. Polymer clay should cure firm without turning brown or smoking.
Immediately transfer hot baked clay into a bowl of cold water to temper and prevent post-bake breakage.
Oven Bake Timer 200°F (93°C)
Recommended toaster oven cycle for Polymer Miniature
Texturing Masterclass: 5 Essential Methods
Realistic miniature food comes to life with surface micro-texture. A variety of everyday household tools can be repurposed into professional texturing instruments.
Key Rules & Techniques:
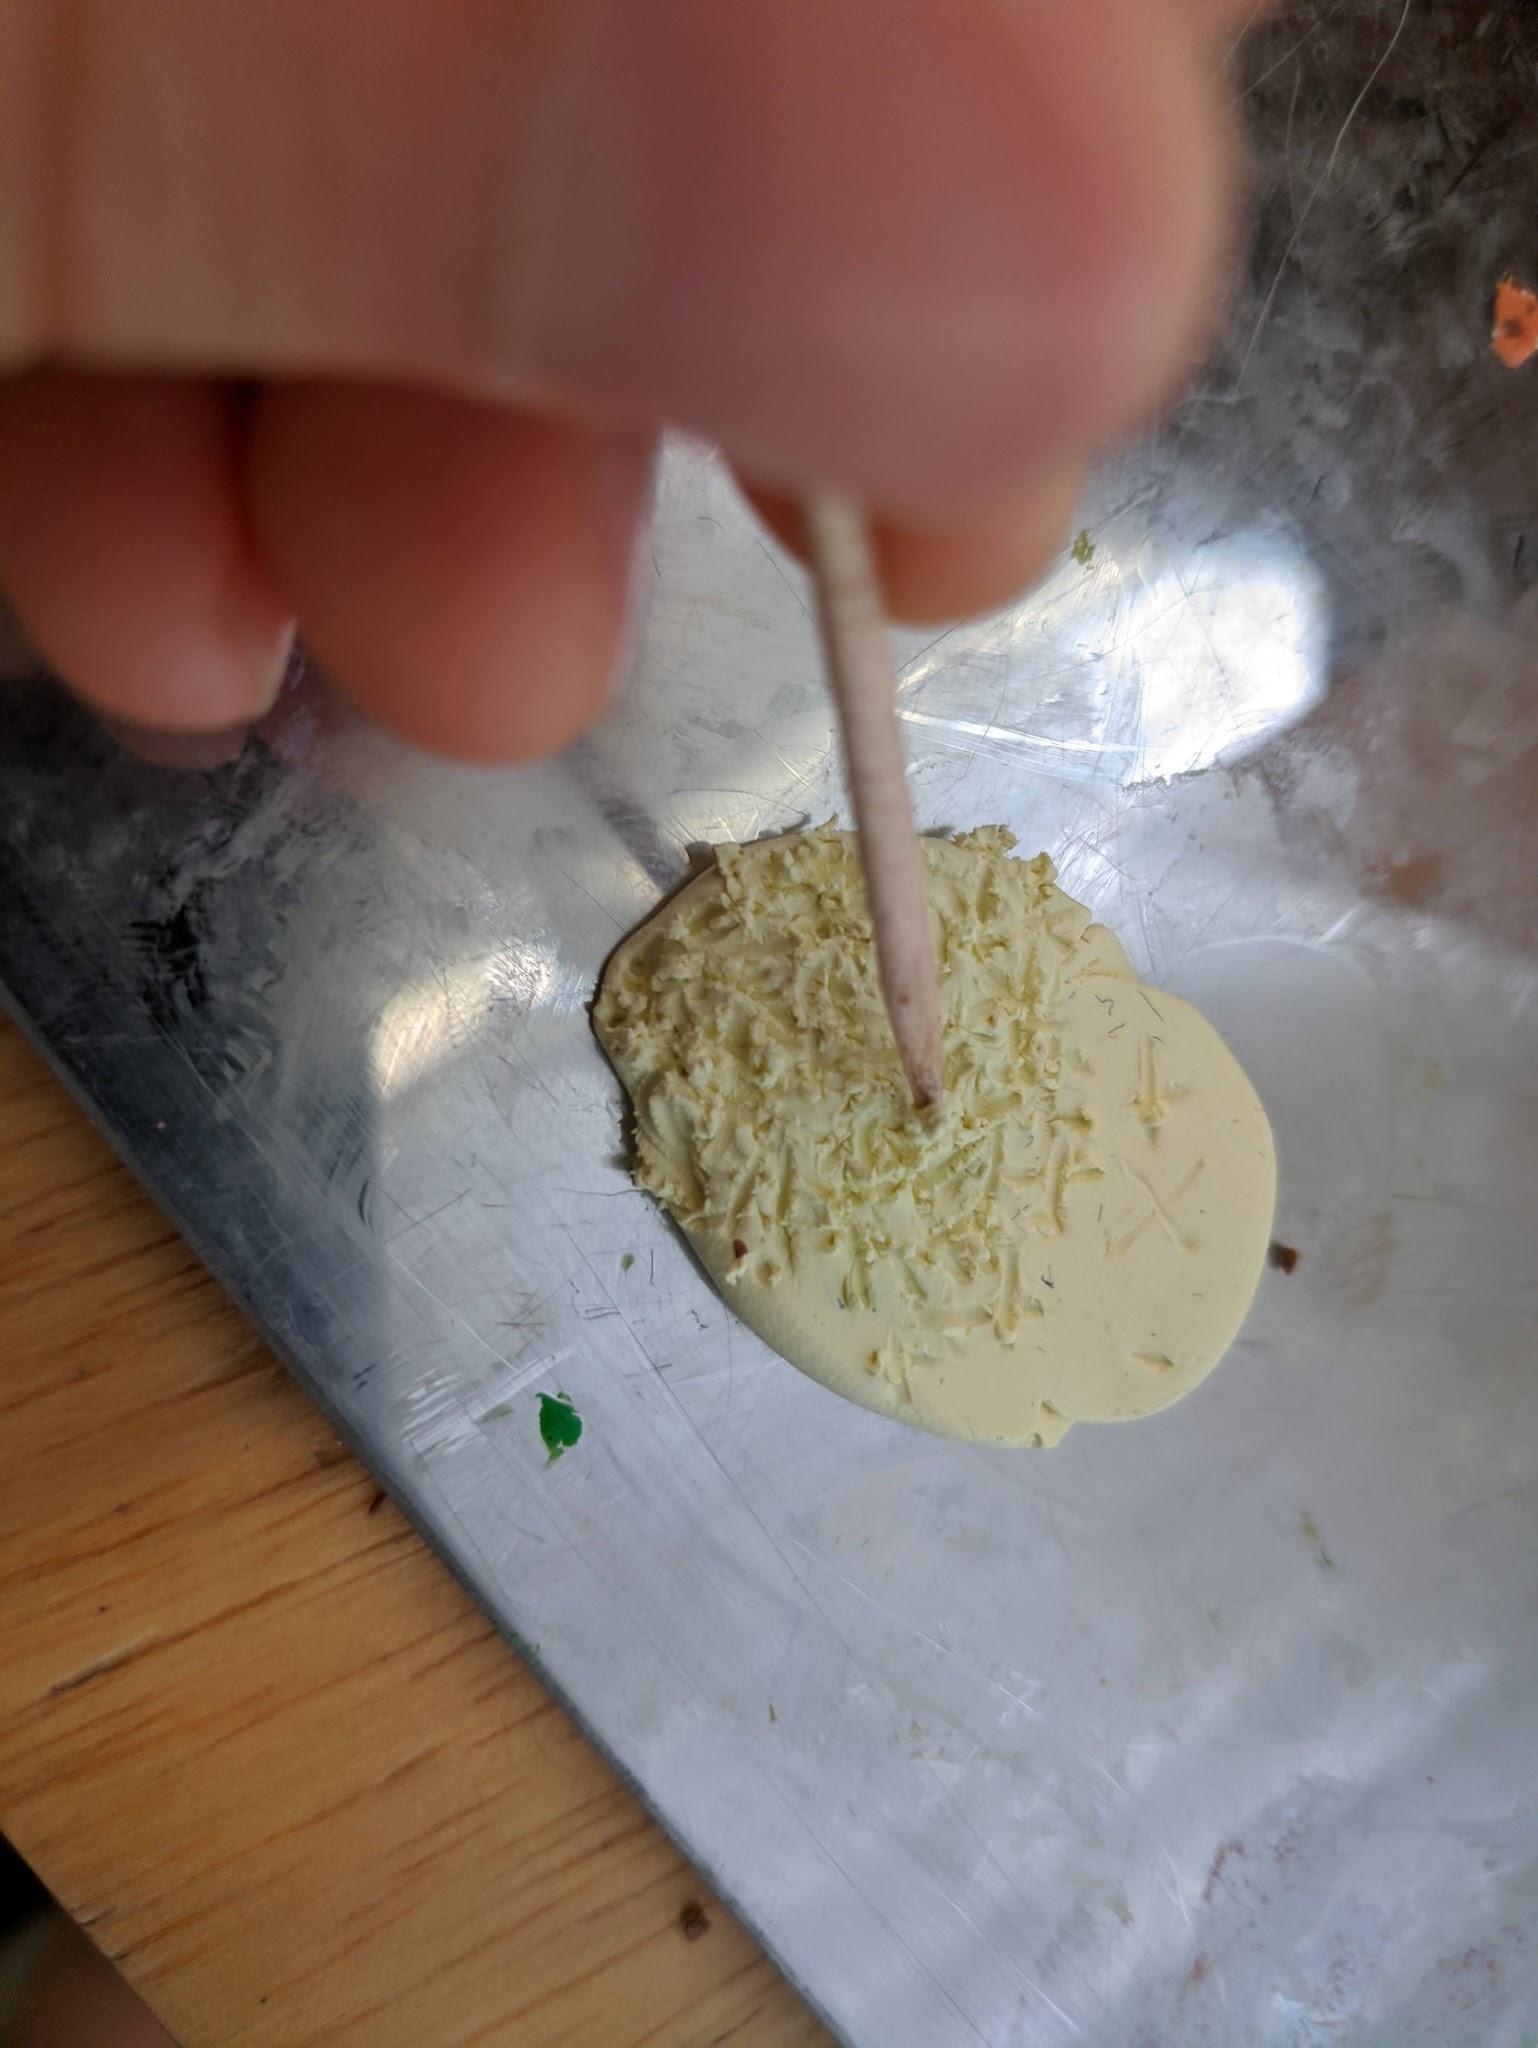
- • Toothpick Scratching: Scratch microscopic "X" patterns or tiny pinholes to simulate sliced bread crumb and cake interior.
- • Toothbrush Stippling: Gently press clean bristles across clay surfaces for uniform porous cookie and cracker textures.
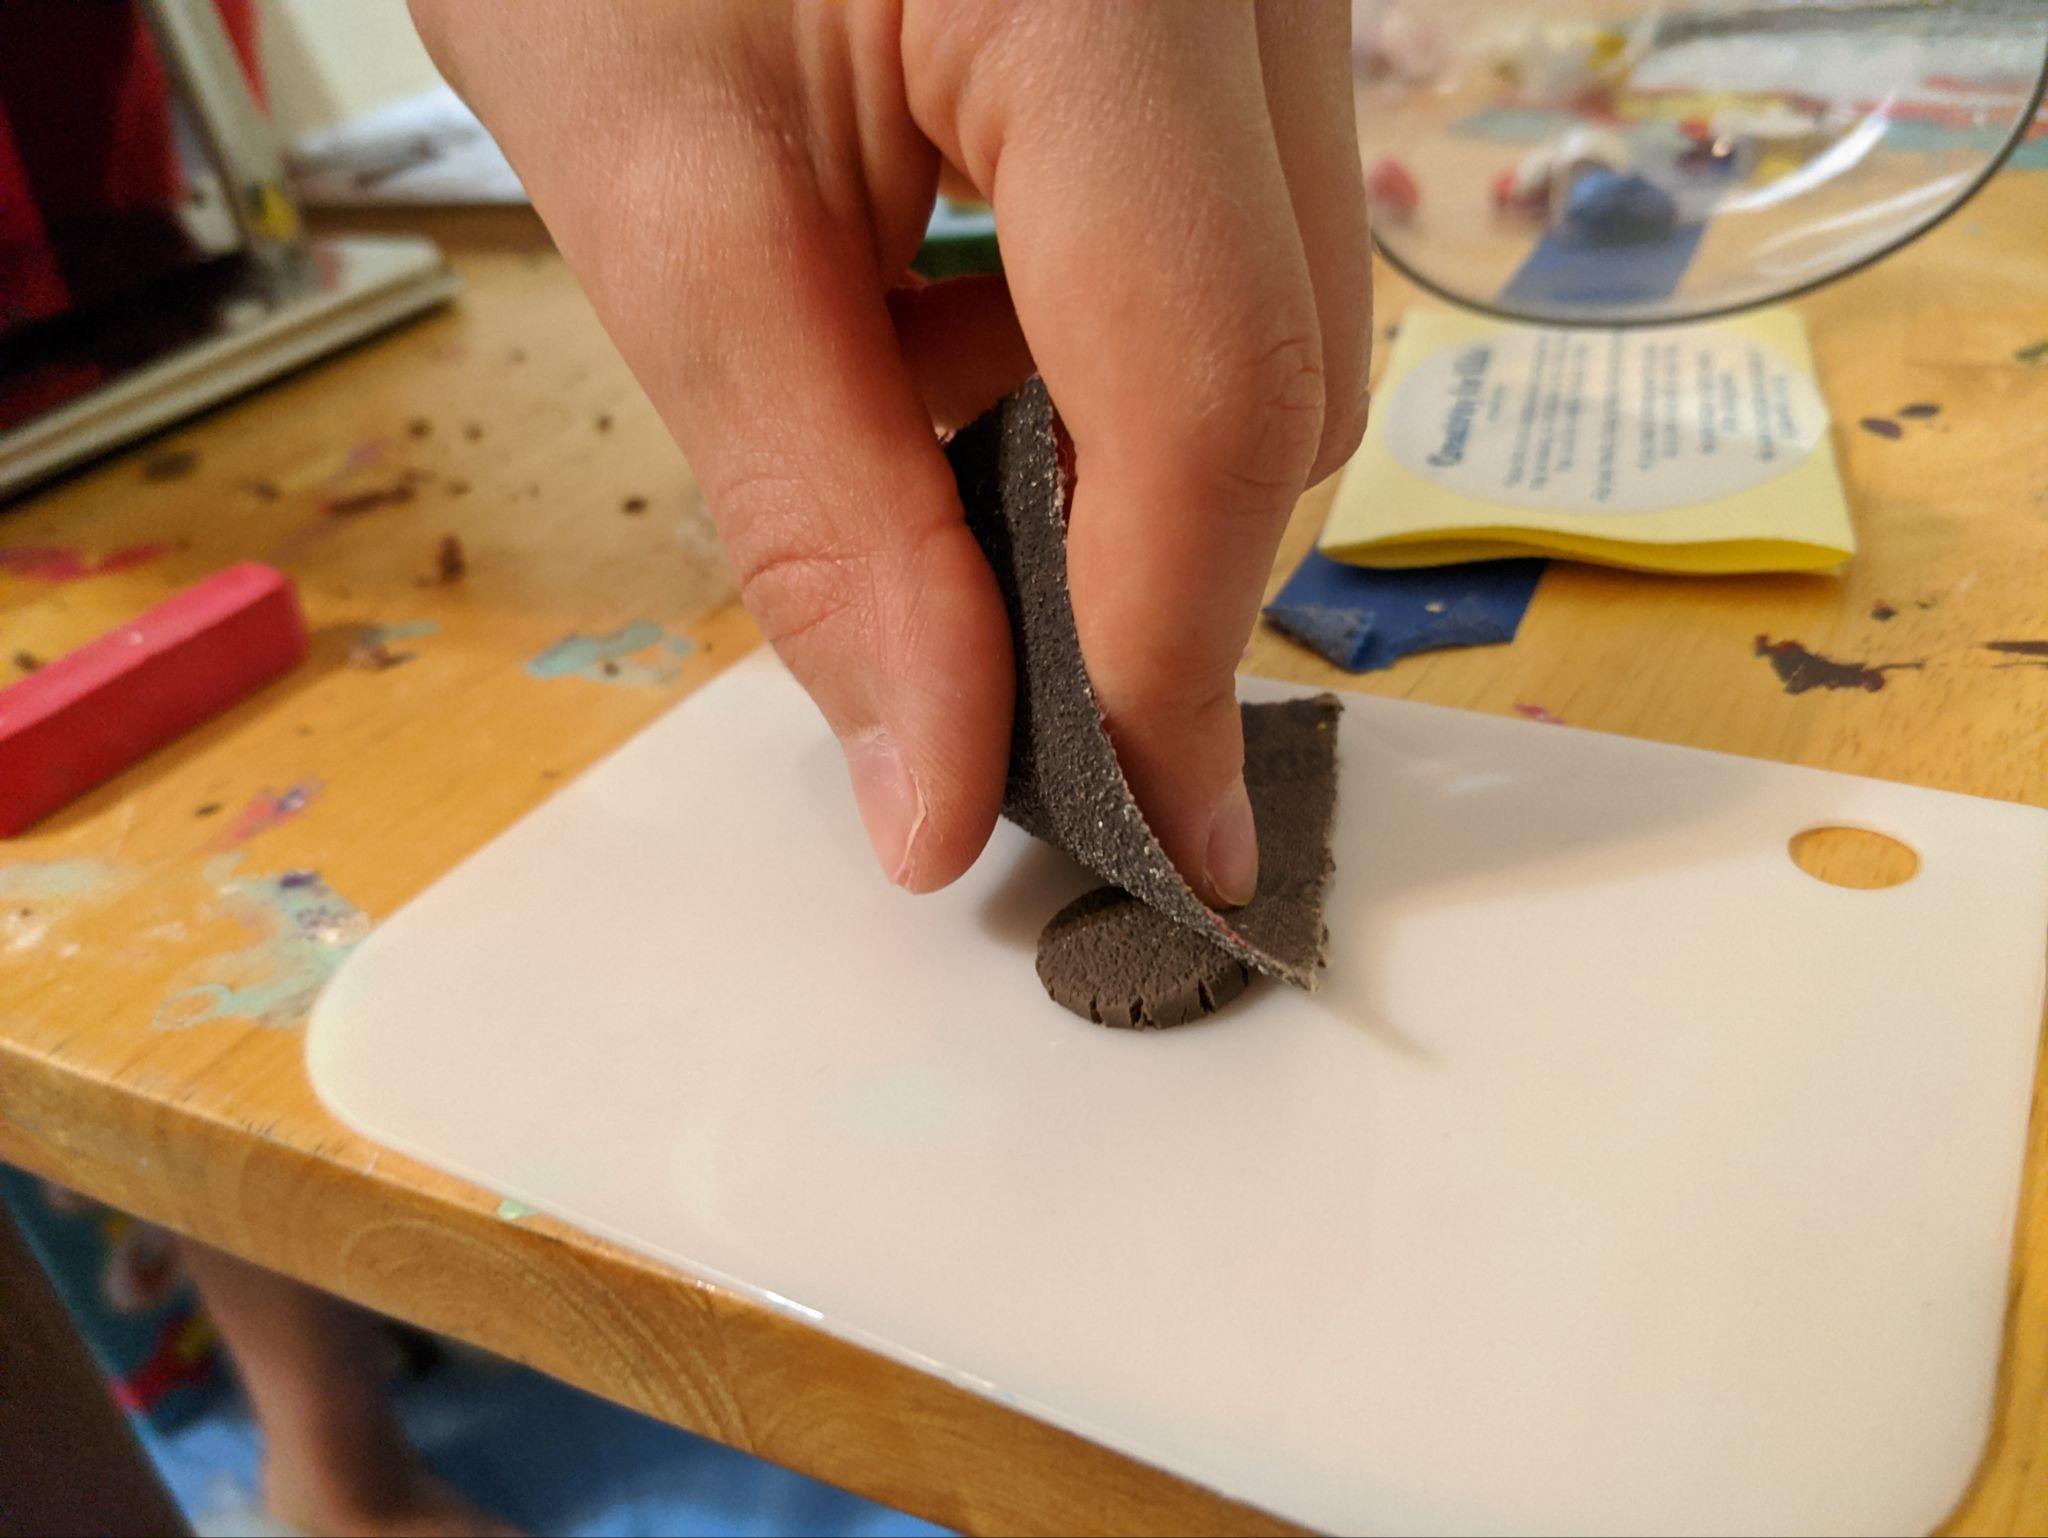
- • Sandpaper Pressing: Press coarse sandpaper against clay to create coarse bread crust, brownie surfaces, or flower seed heads.
- • Household Objects: Aluminum foil (crumpled ball), stamps, shells, textured fabrics, and metal meshes create endless unique patterns.
Step-by-Step Method:
Roll out a piece of clay, scratch tiny overlapping "x" marks with the toothpick tip, then lightly tap with a toothbrush.
Hold the toothbrush flat against the clay surface and apply gentle, even downward pressure.
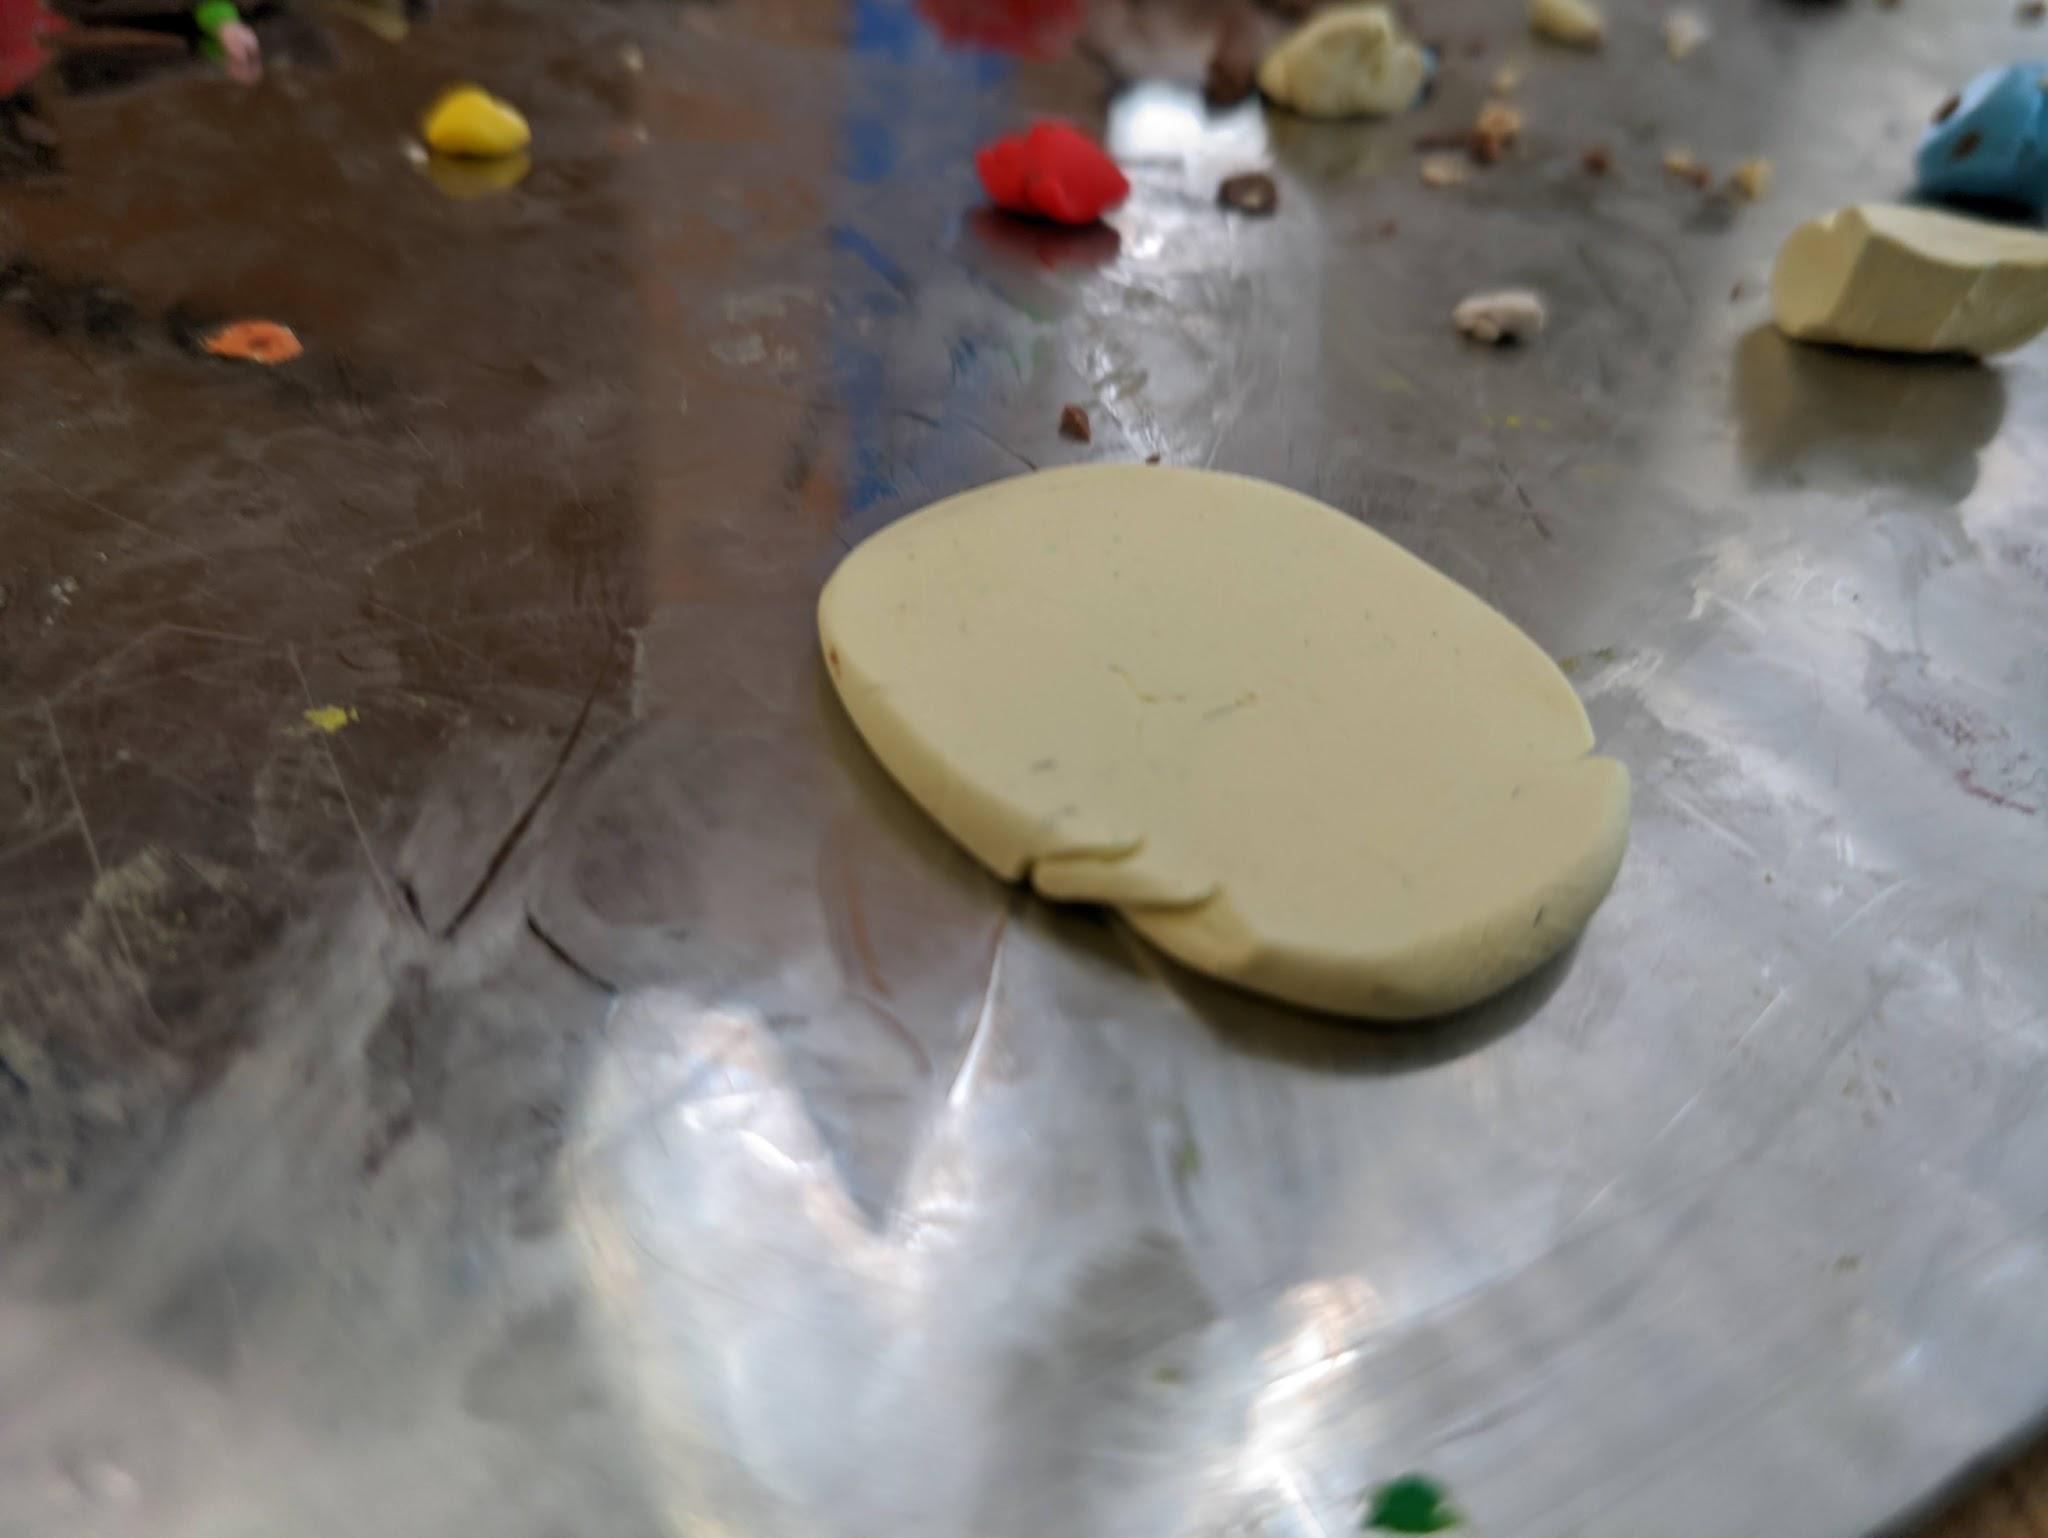
Press coarse grit sandpaper onto the clay disc to embed realistic granular texture (used on sunflower centers and bagel bottoms).
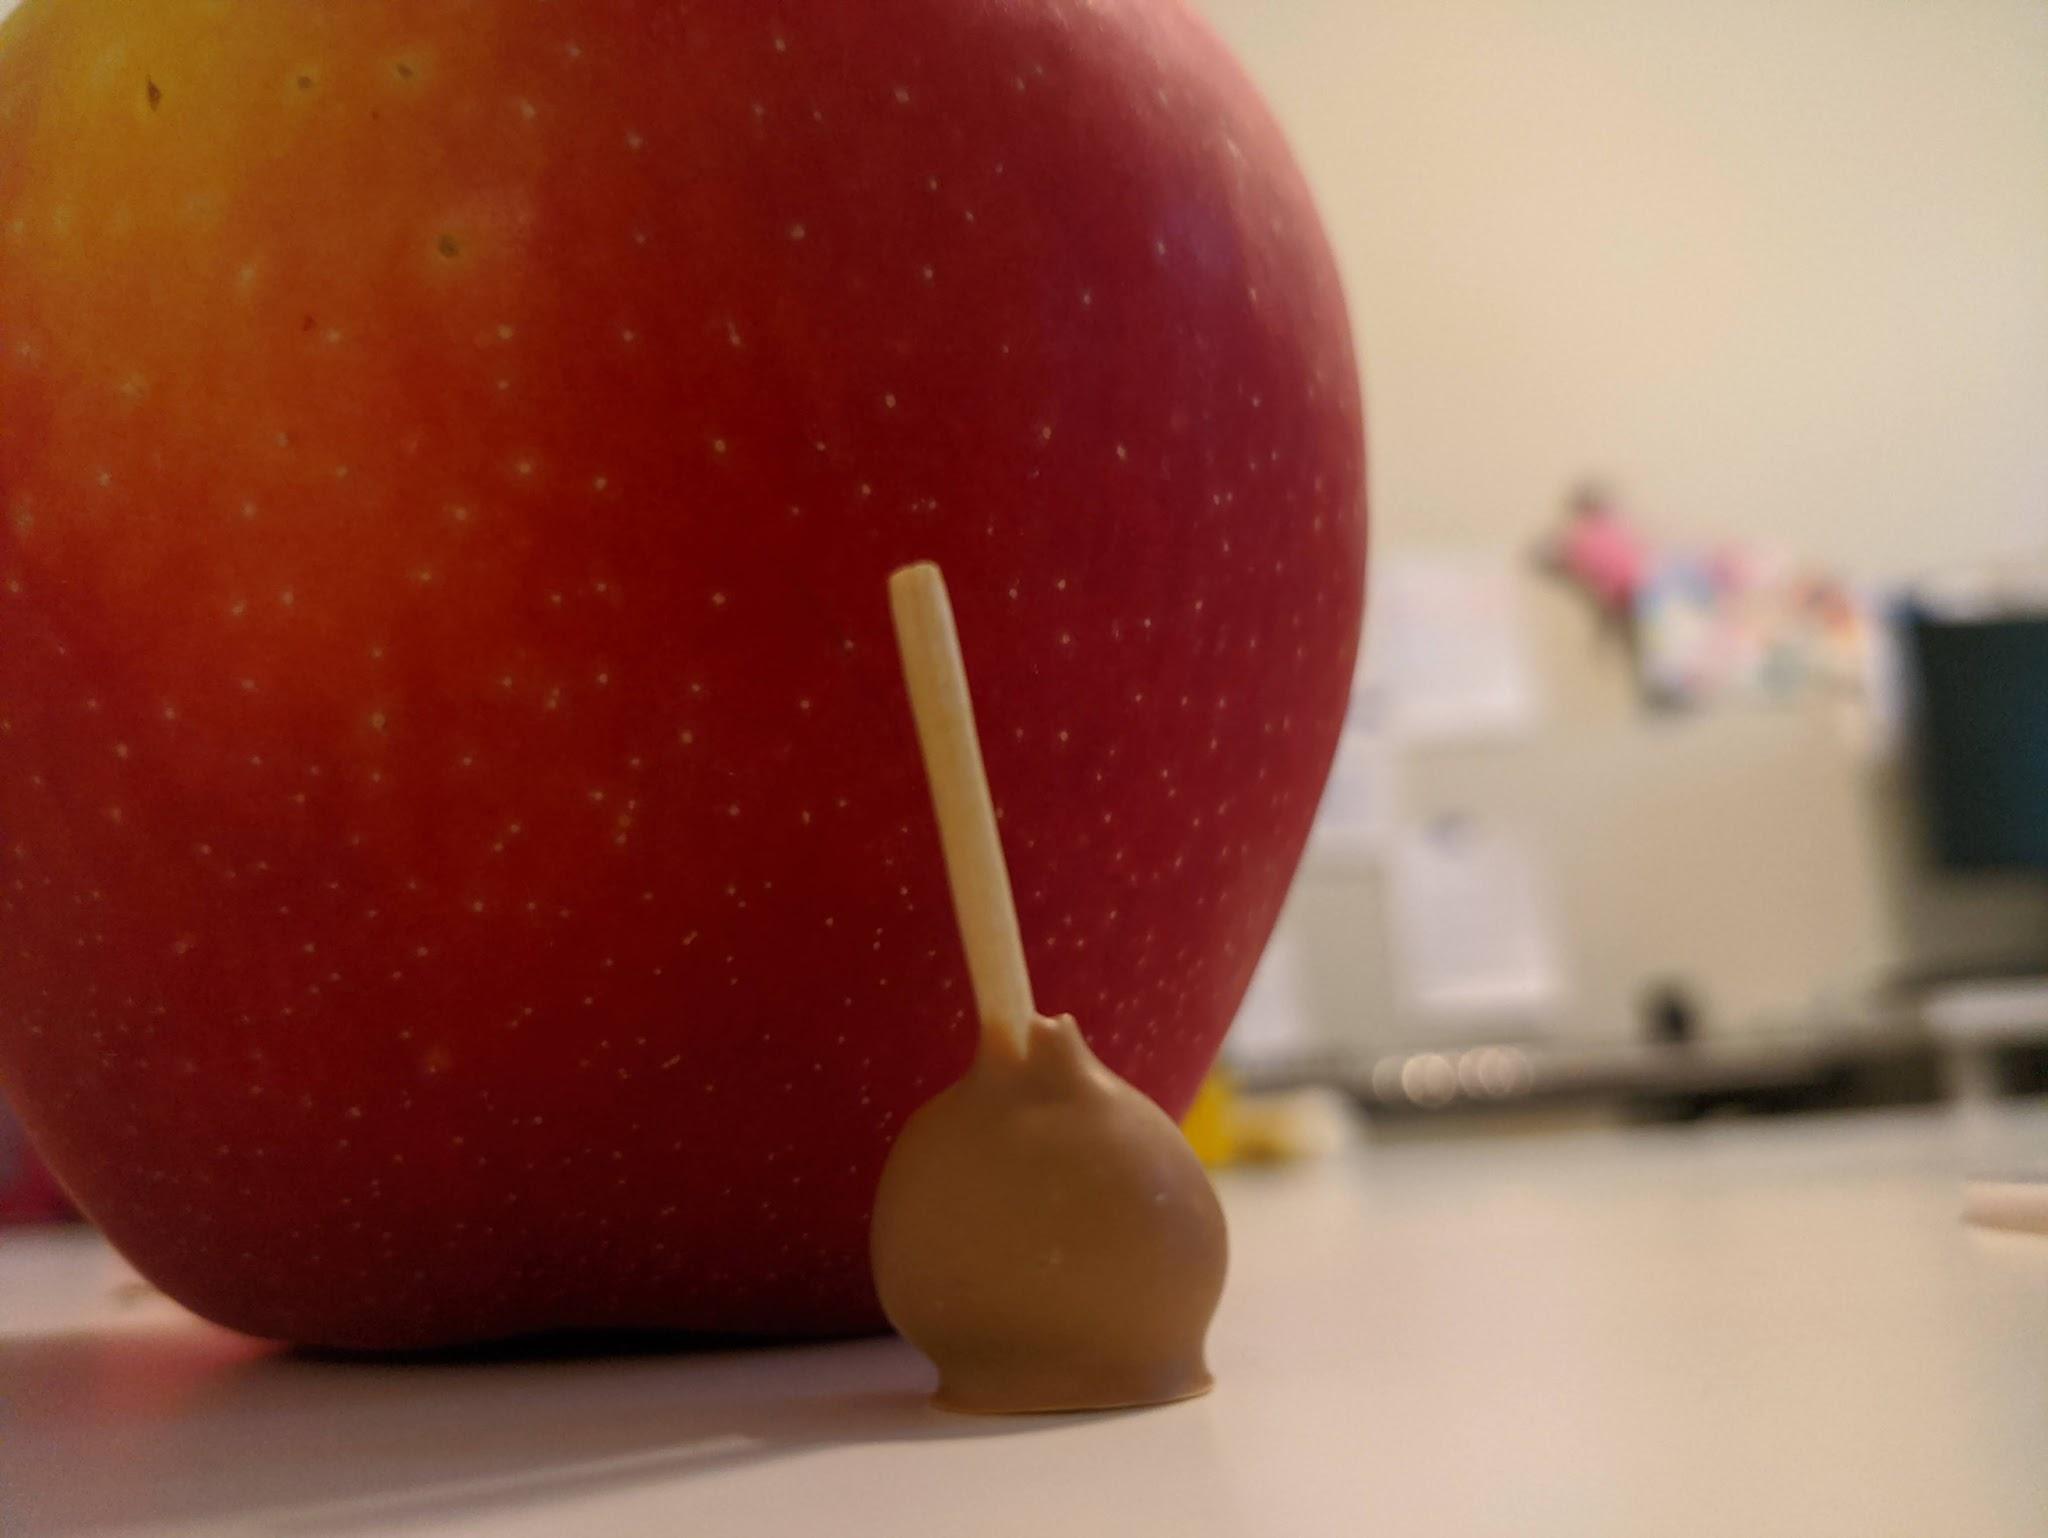
Chalk Pastel Shading for Baked Effects
Chalk pastels act as miniature dry pigments. By dusting powdered pastels over raw polymer clay before baking, you can achieve hyper-realistic baked gradients.
Key Rules & Techniques:
- • Scrape pastel chalk with a craft blade into a shallow container to make ultra-fine pigment powder.
- • Use a soft, dry paintbrush to lightly dust golden ochre, burnt umber, and sienna shades along crusts and edges.
- • Water-Pastel Wash: Mix a drop of water with pastel dust to paint rich, glossy glaze streaks onto miniature cookies.
- • Pastel colors bond permanently into the clay during the 200°F baking process.
Clay Extruder Mechanics & Noodle Guide
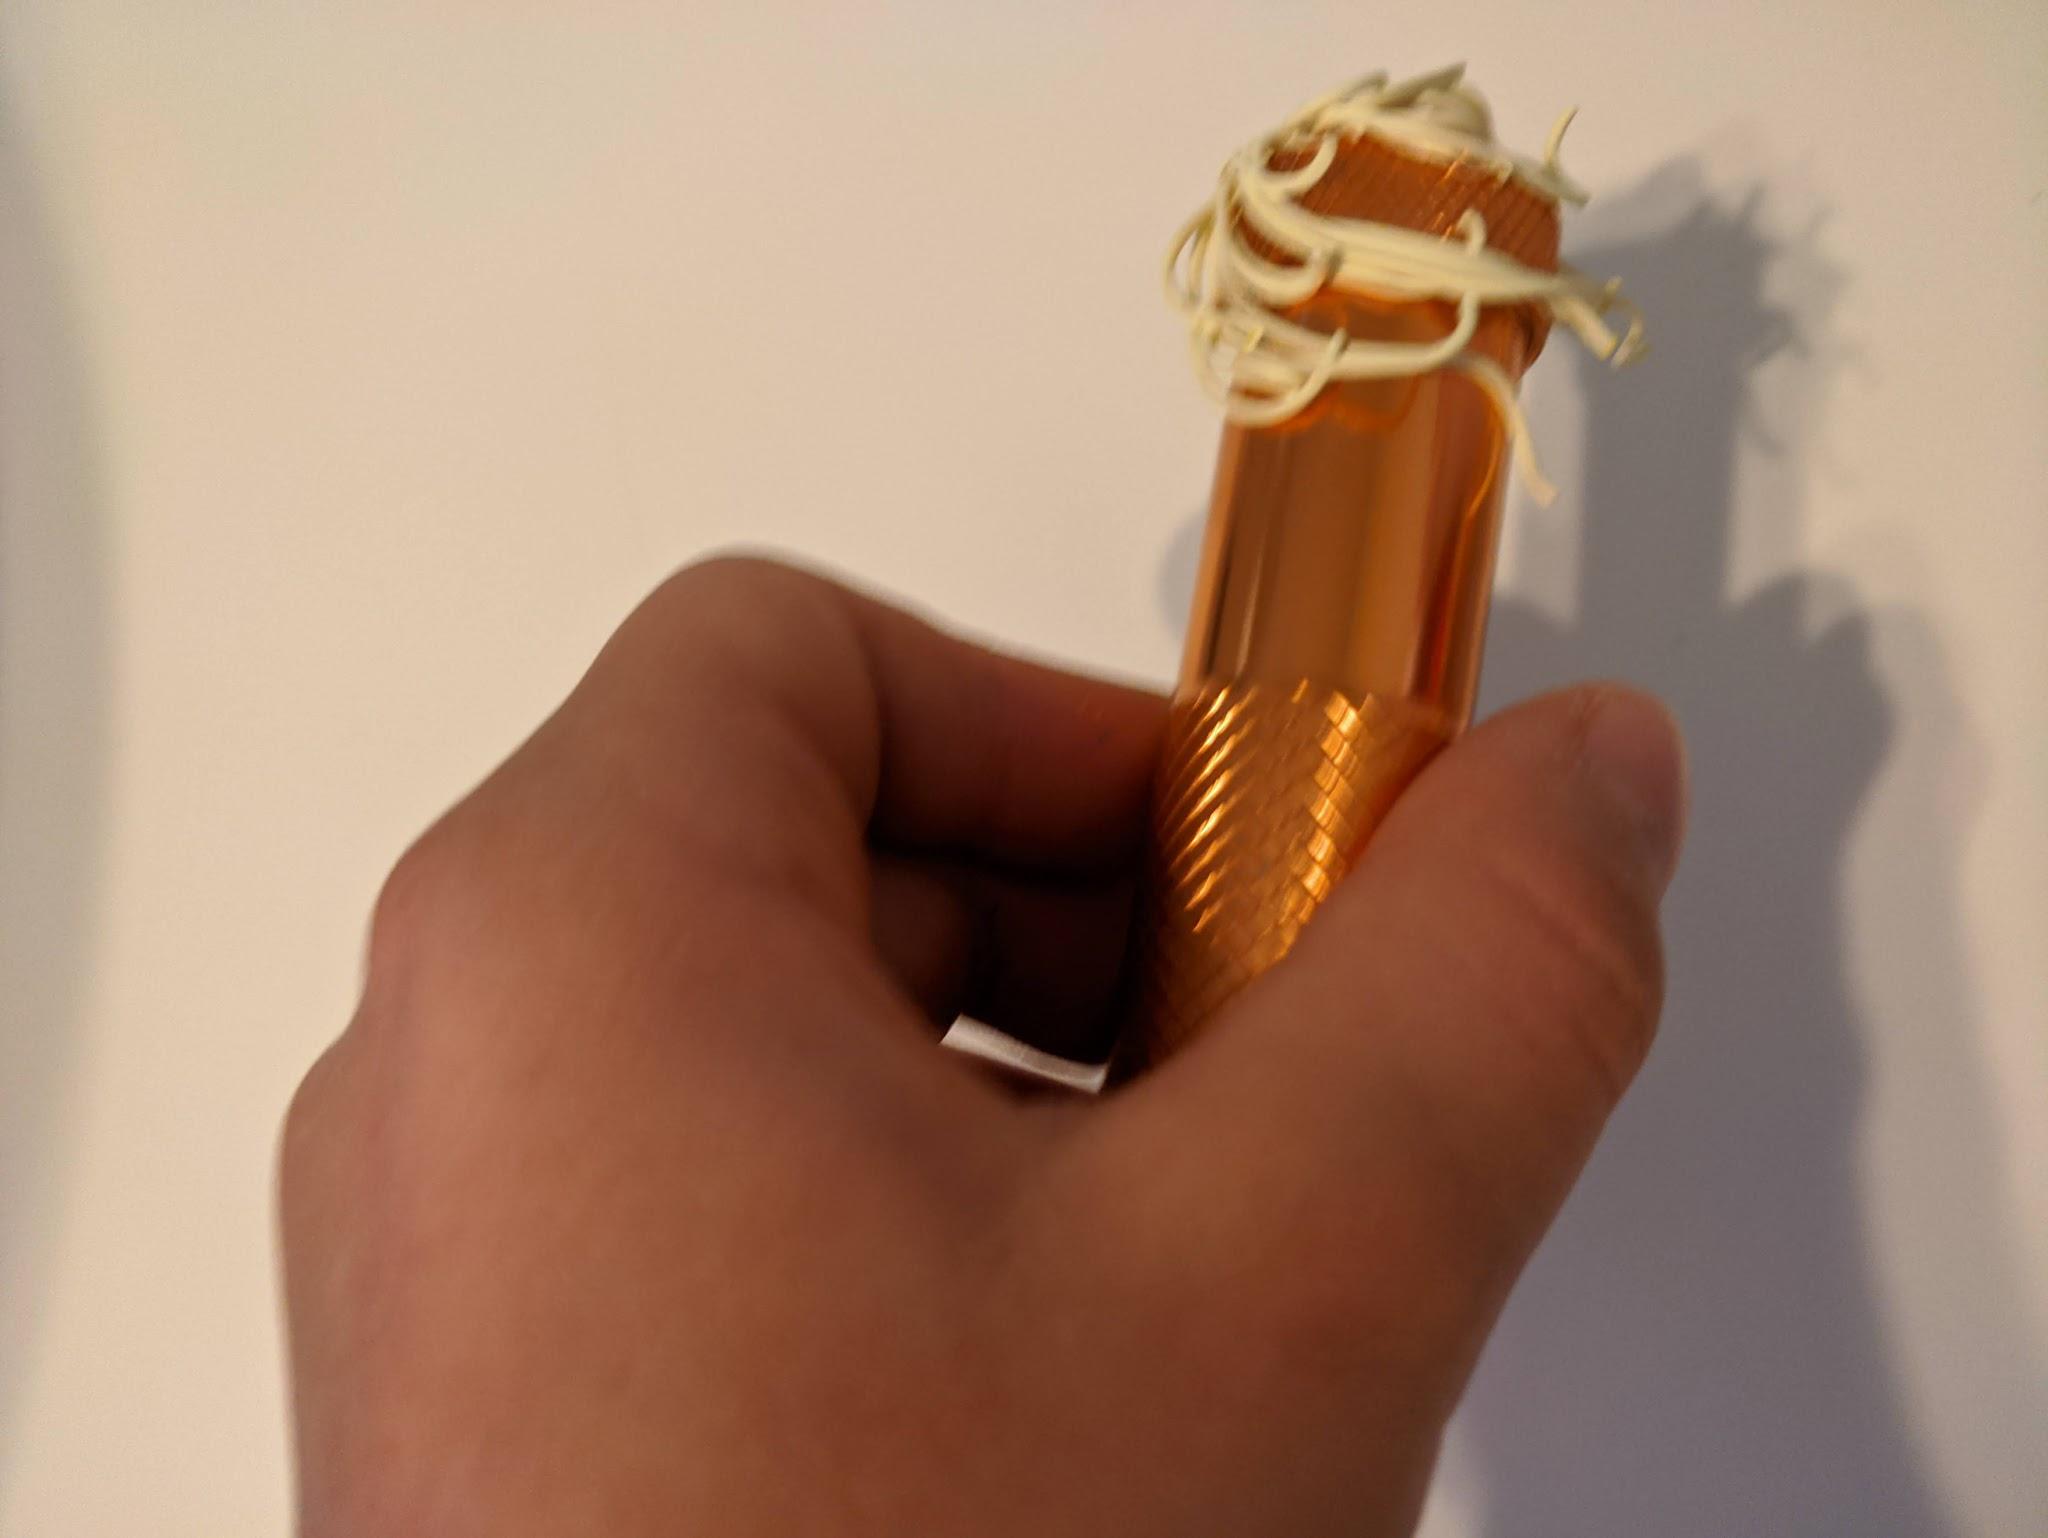
The clay extruder is a screw-action syringe tool that presses clay through interchangeable patterned metal discs, creating uniform continuous strands and shapes.
Key Rules & Techniques:
- • Always twist off the bottom cap first and seat your selected pattern disc flat inside.
- • Twist the top handle counter-clockwise to retract the plunger and open the inner loading chamber.
- • Condition clay thoroughly into a smooth cylinder log before loading to prevent air pockets.
- • Turn the screw handle clockwise steadily to extrude smooth, continuous strands, then slice cleanly with a blade at the cap base.
Step-by-Step Method:
Twist off the bottom cap and place your chosen multi-hole extruder plate inside.
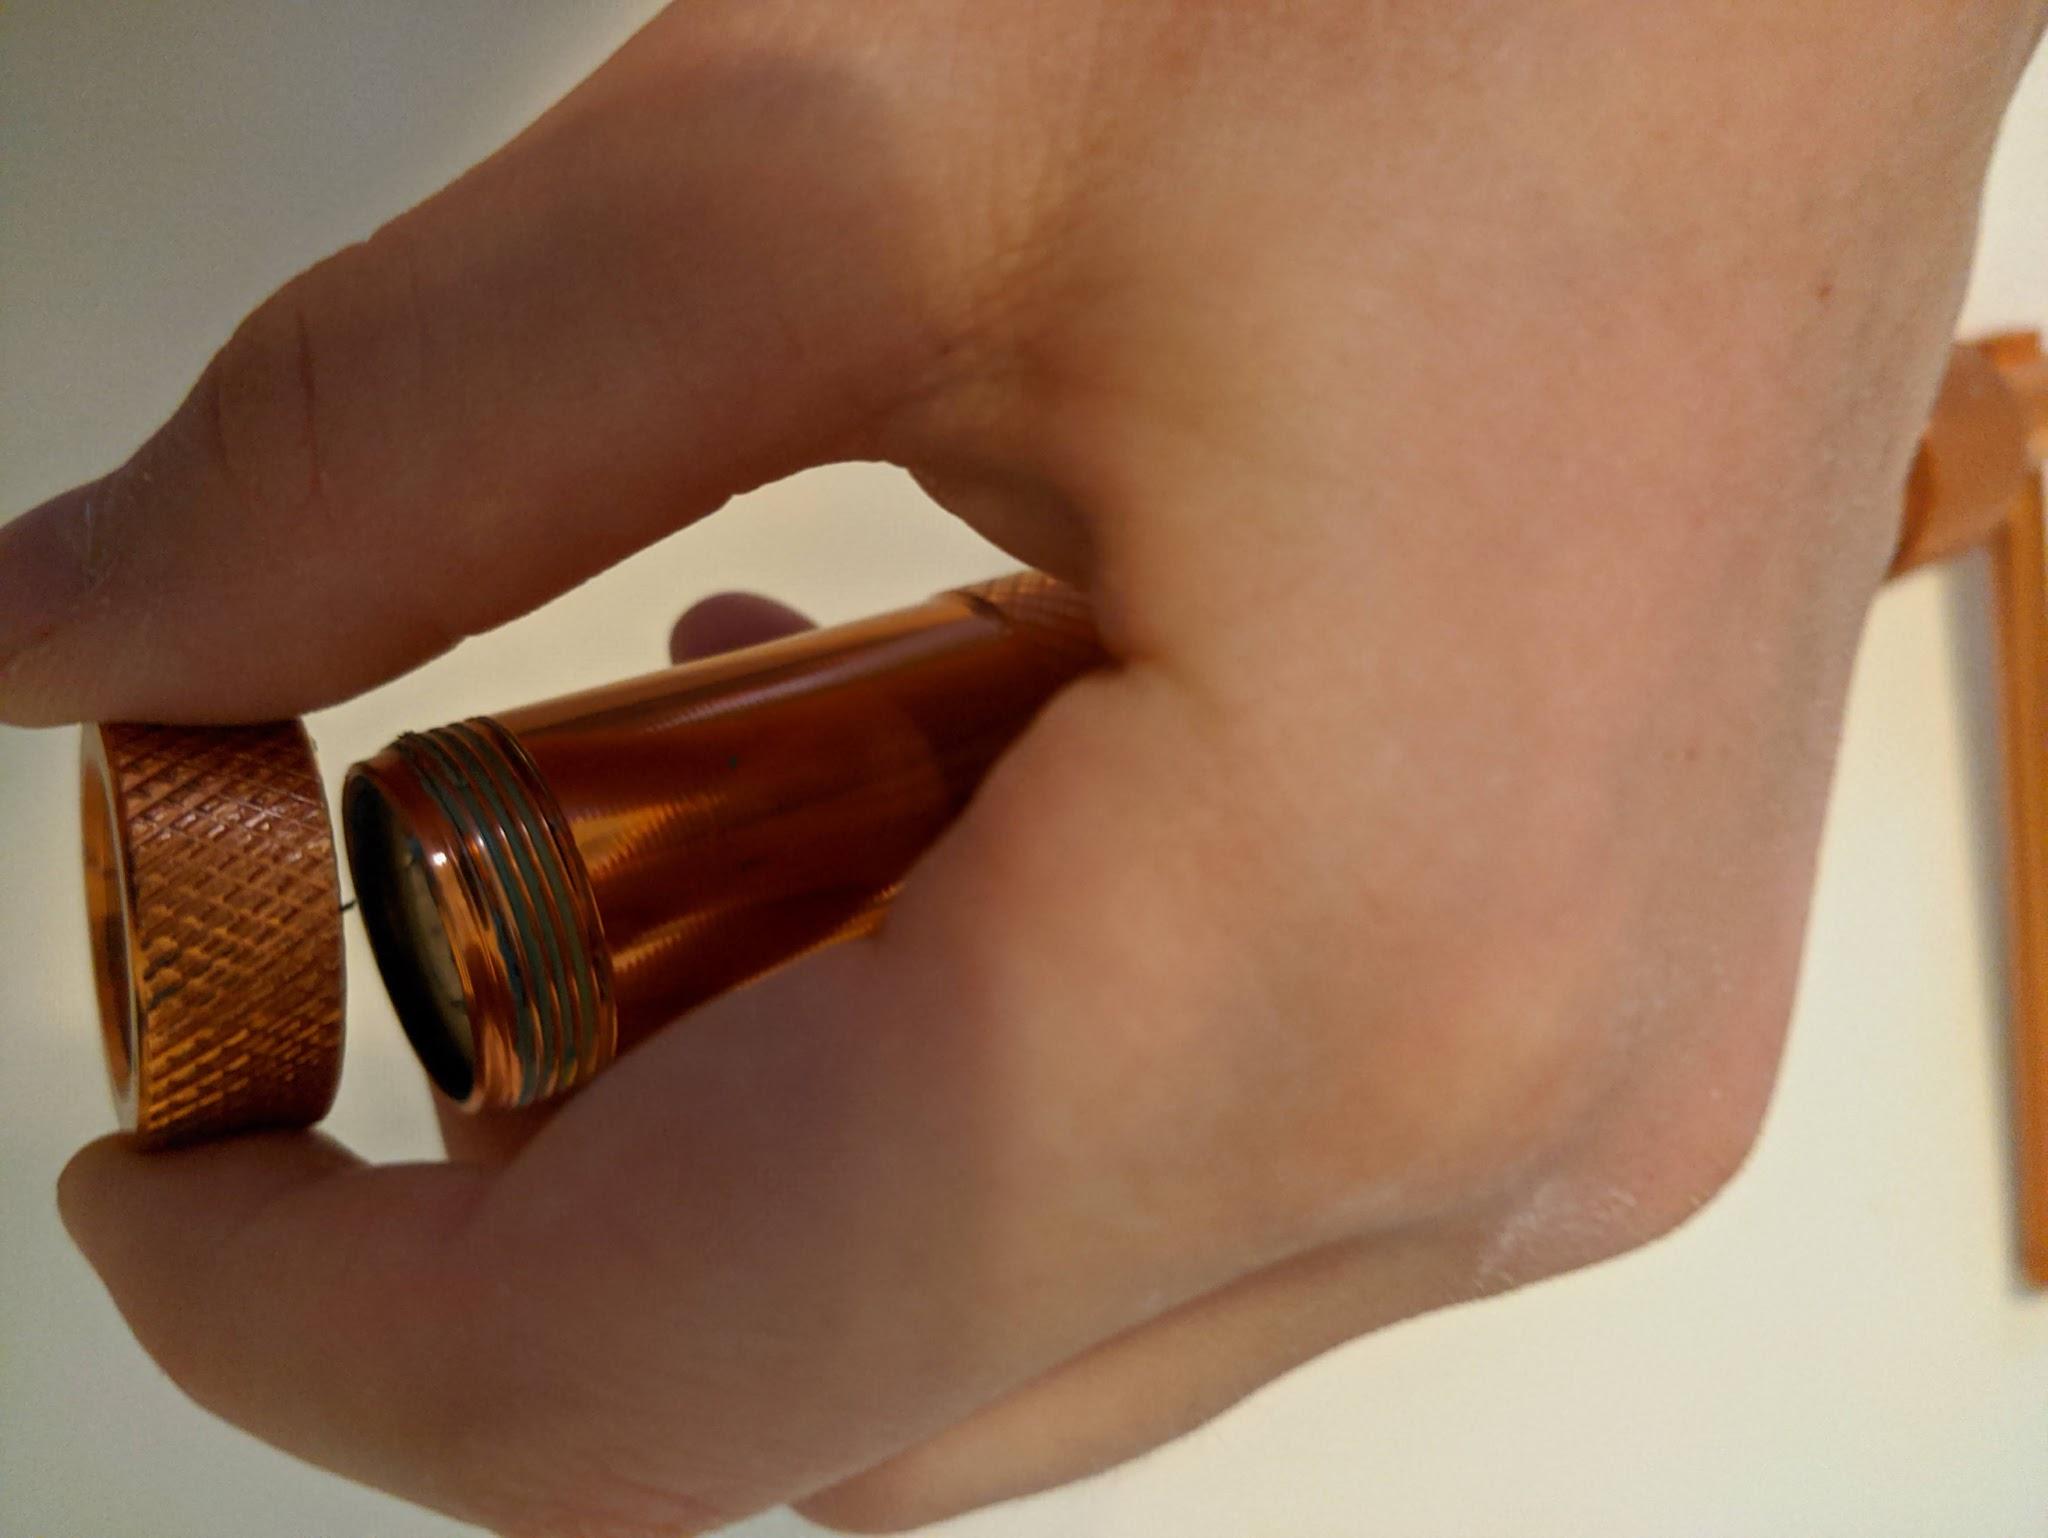
Retract plunger, insert conditioned beige clay cylinder, and re-tighten the bottom cap securely.
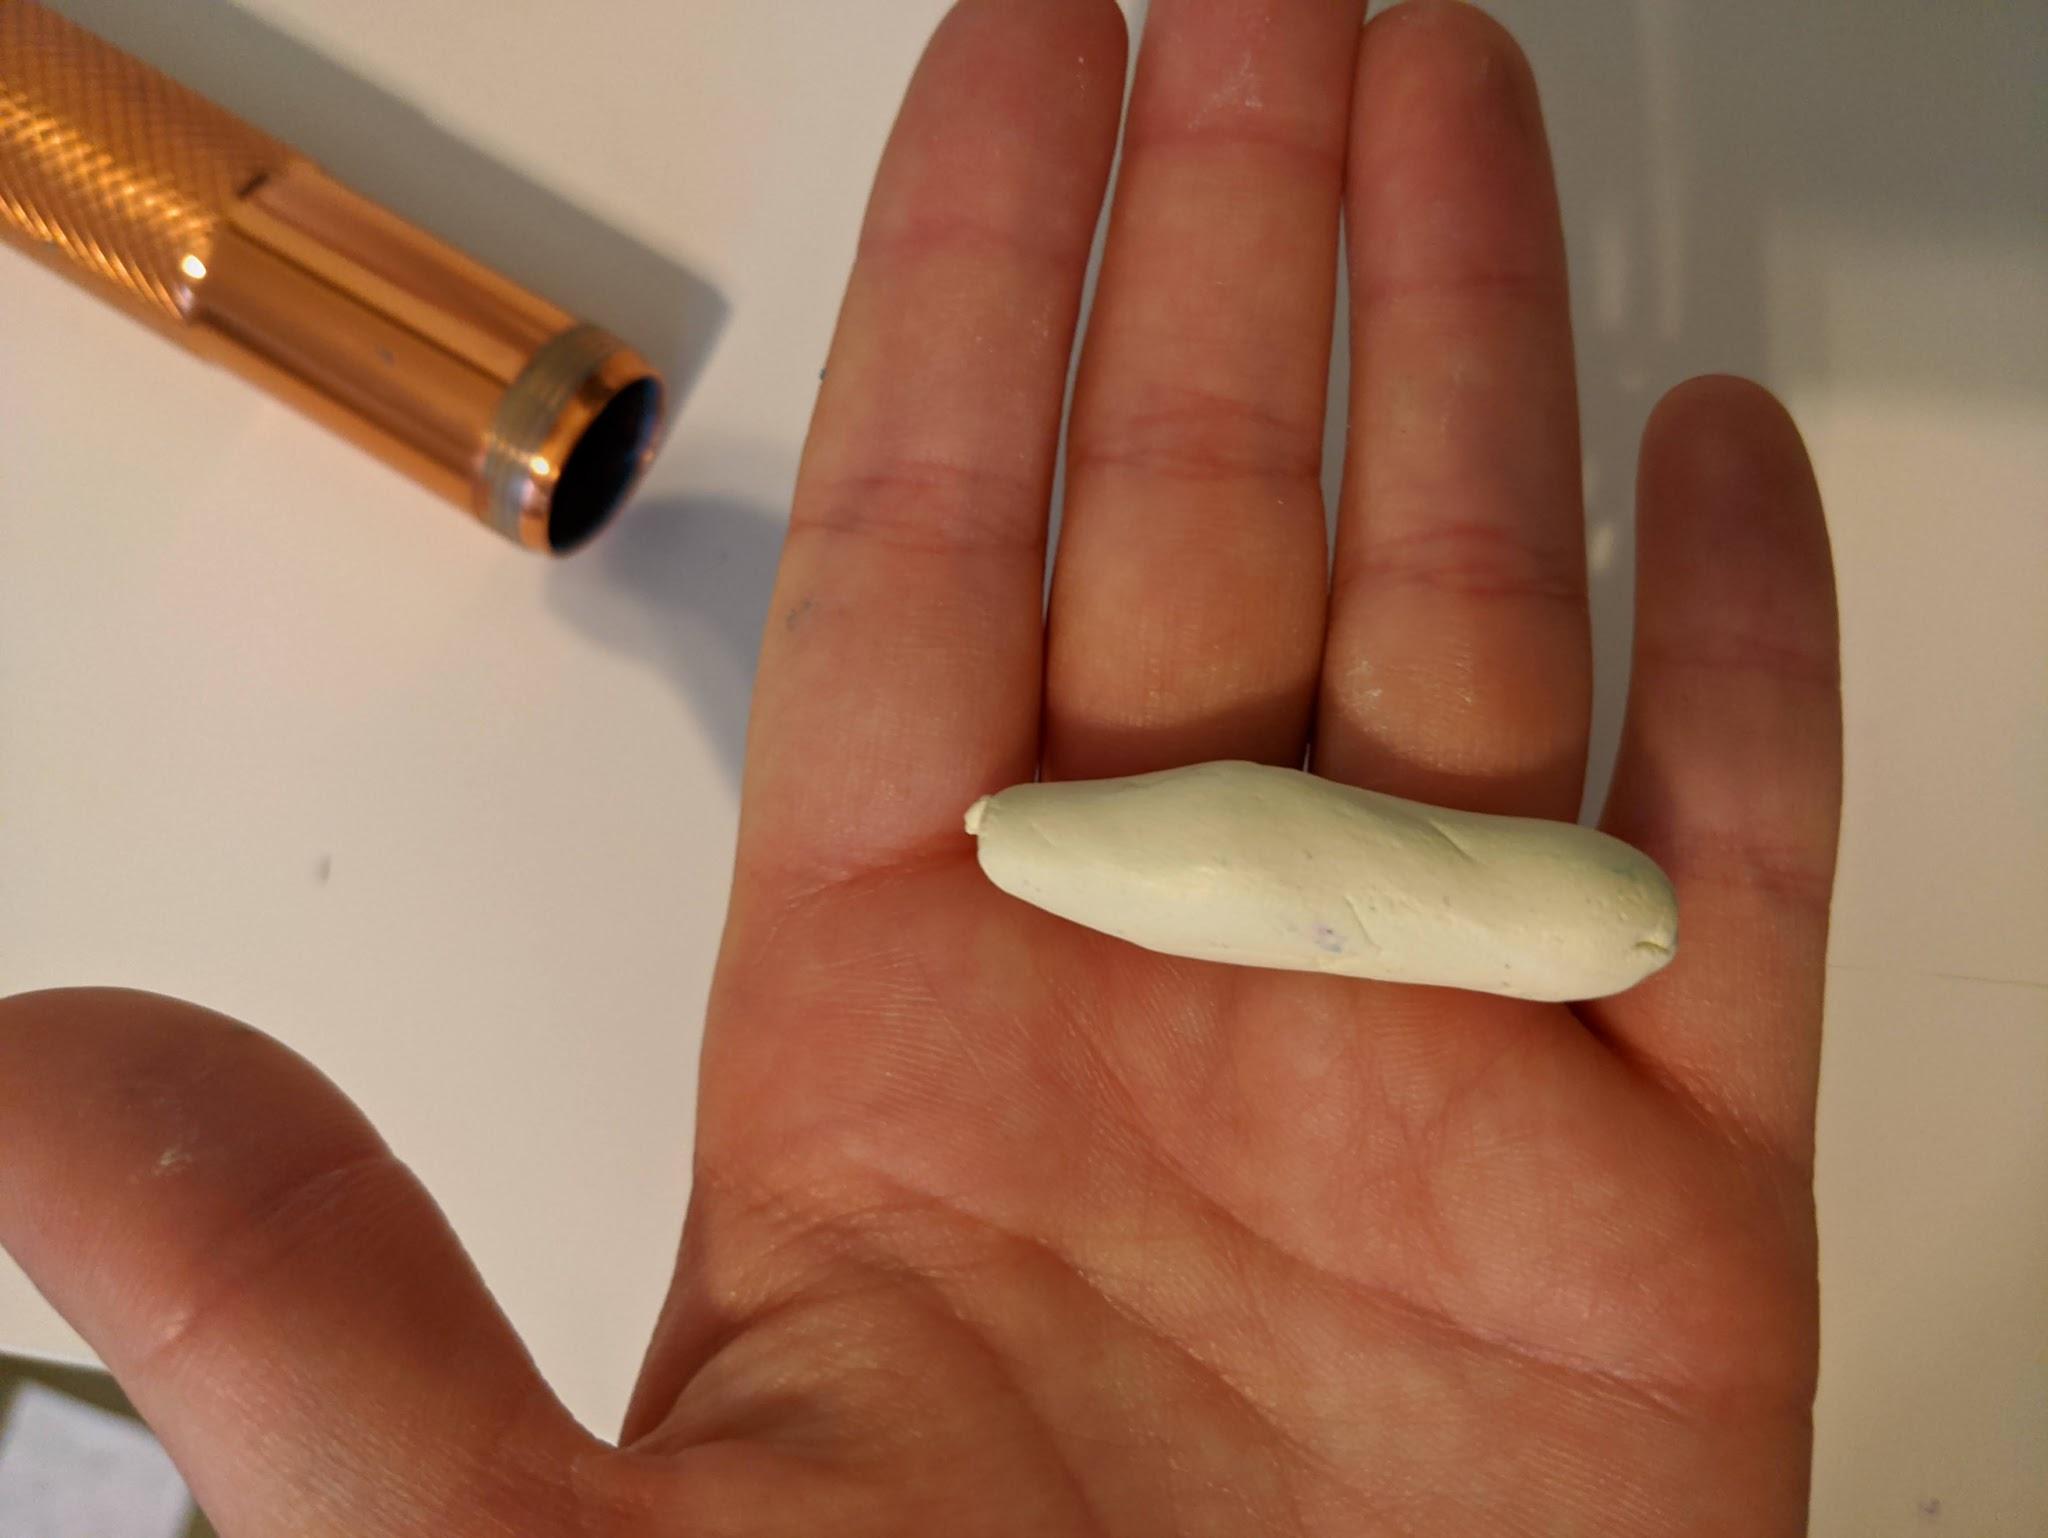
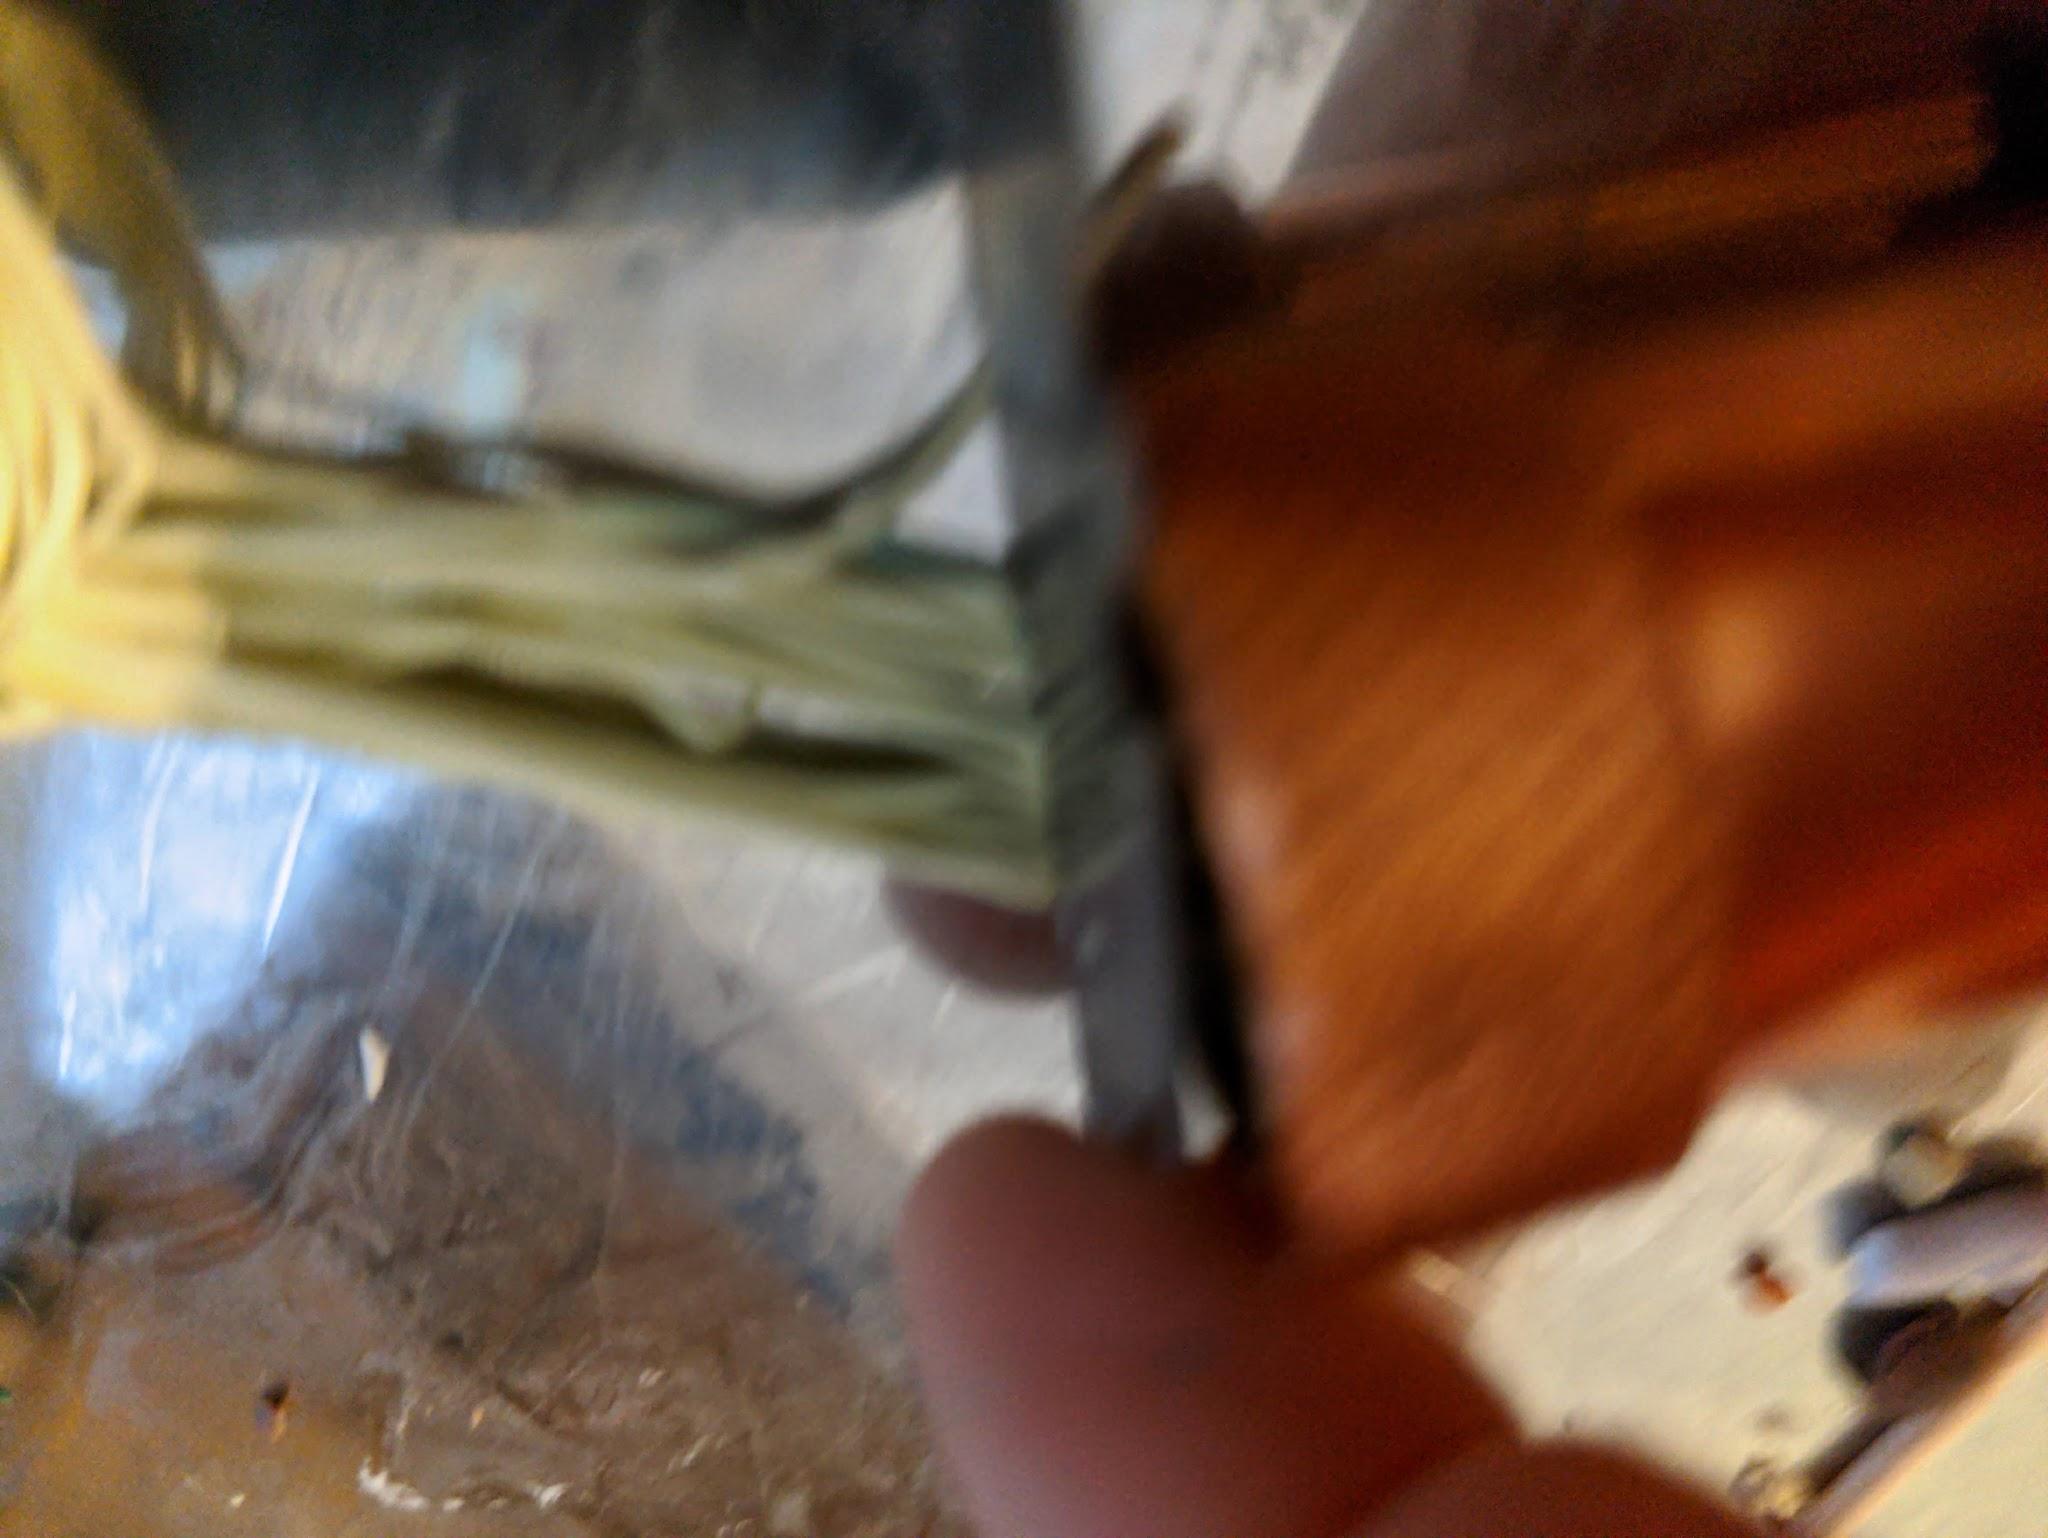
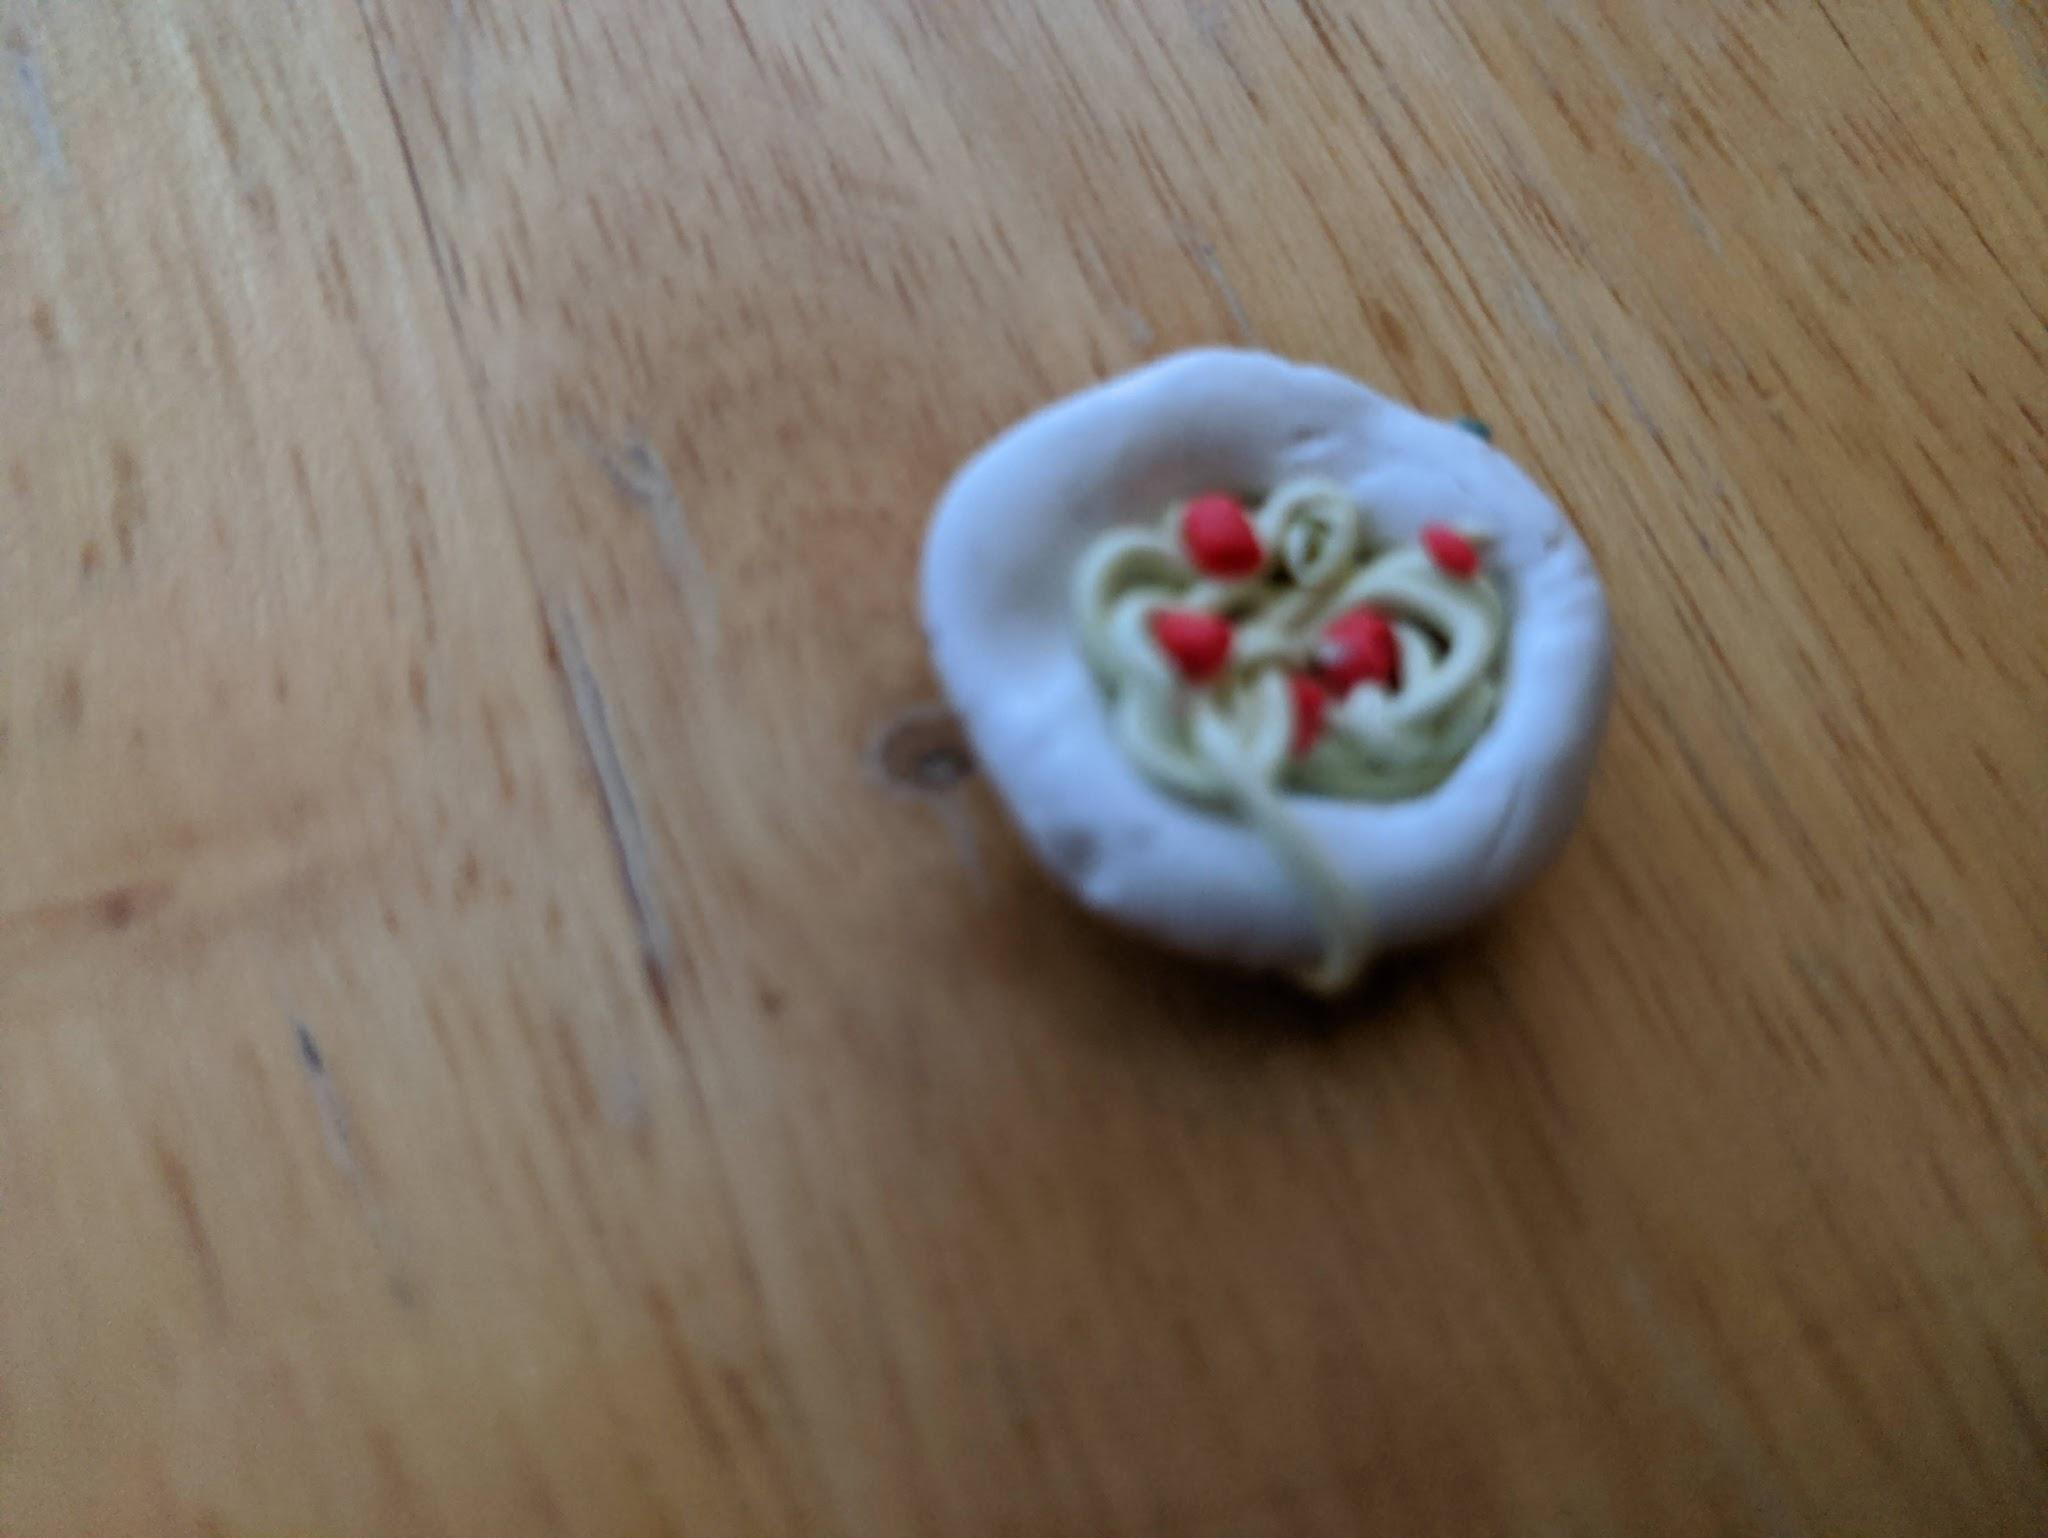
Twist the handle steadily until noodles flow out, then slice flush against the plate with your blade.
Liquid Polymer Clay Lab: Icings & Sauces
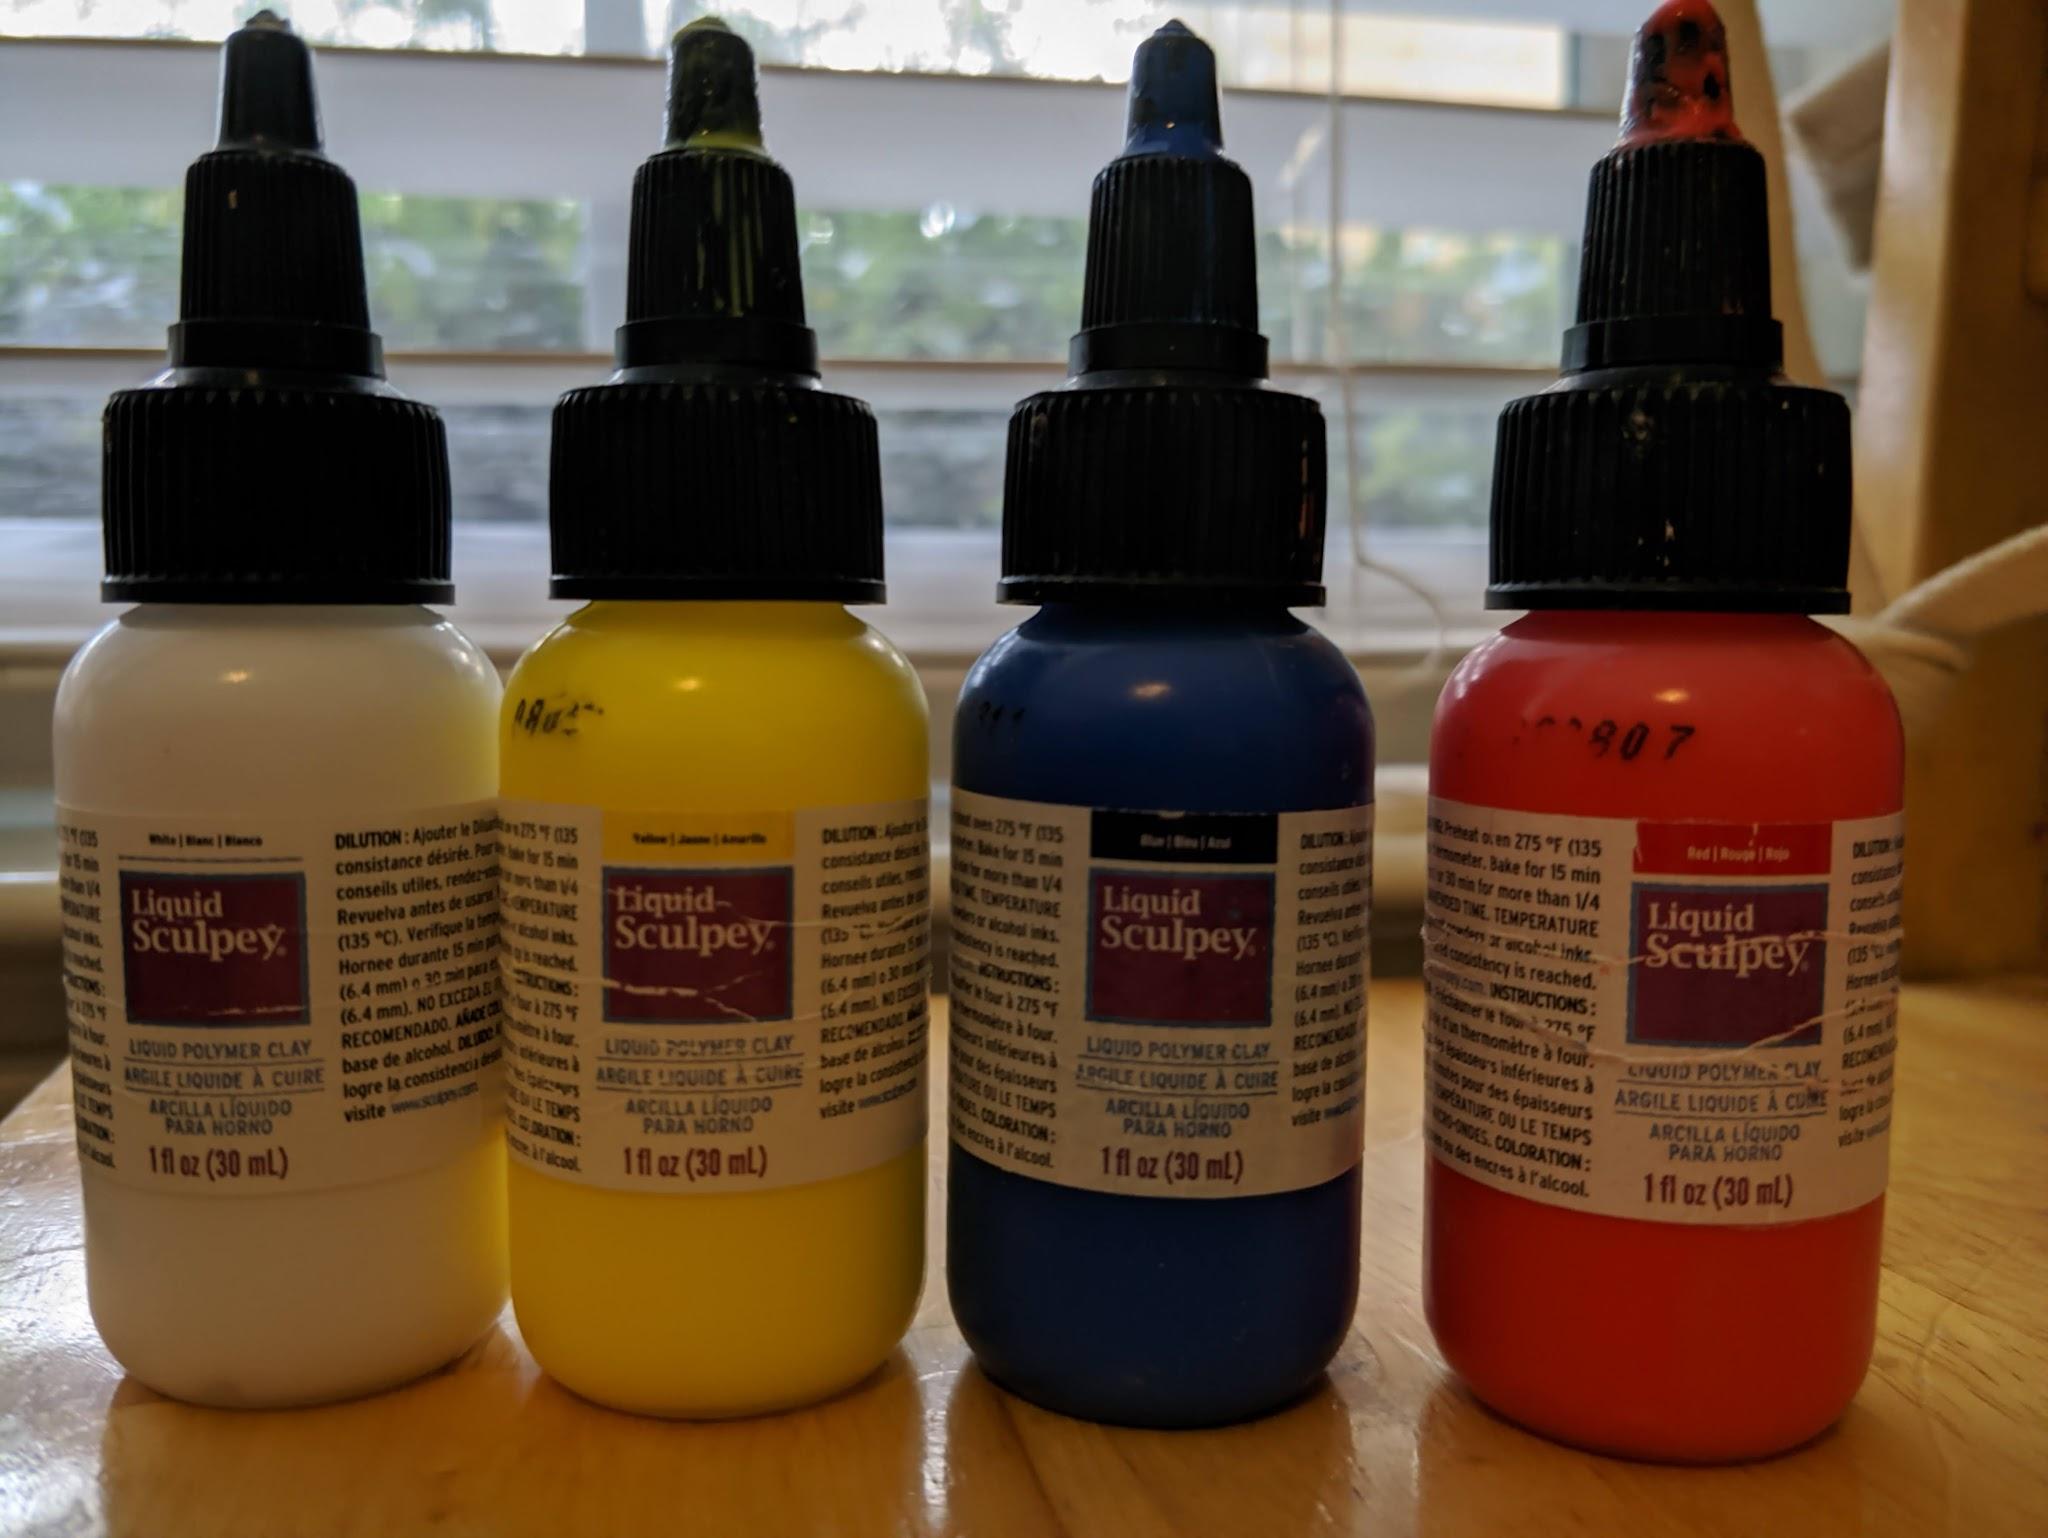
Liquid polymer clay is a pourable, oven-curing medium. It can be tinted with chalk pastels, alcohol inks, or kneaded with solid clay to make spreadable frostings, hummus dips, and glazes.
Key Rules & Techniques:
- • Versatile Food Uses: Replicate bakery icing, berry jam, hummus dip, tomato ketchup, mustard, melted cheese, and syrup.
- • Oven-Bake Formula: 100% oven bakeable at 200°F right alongside solid clay pieces.
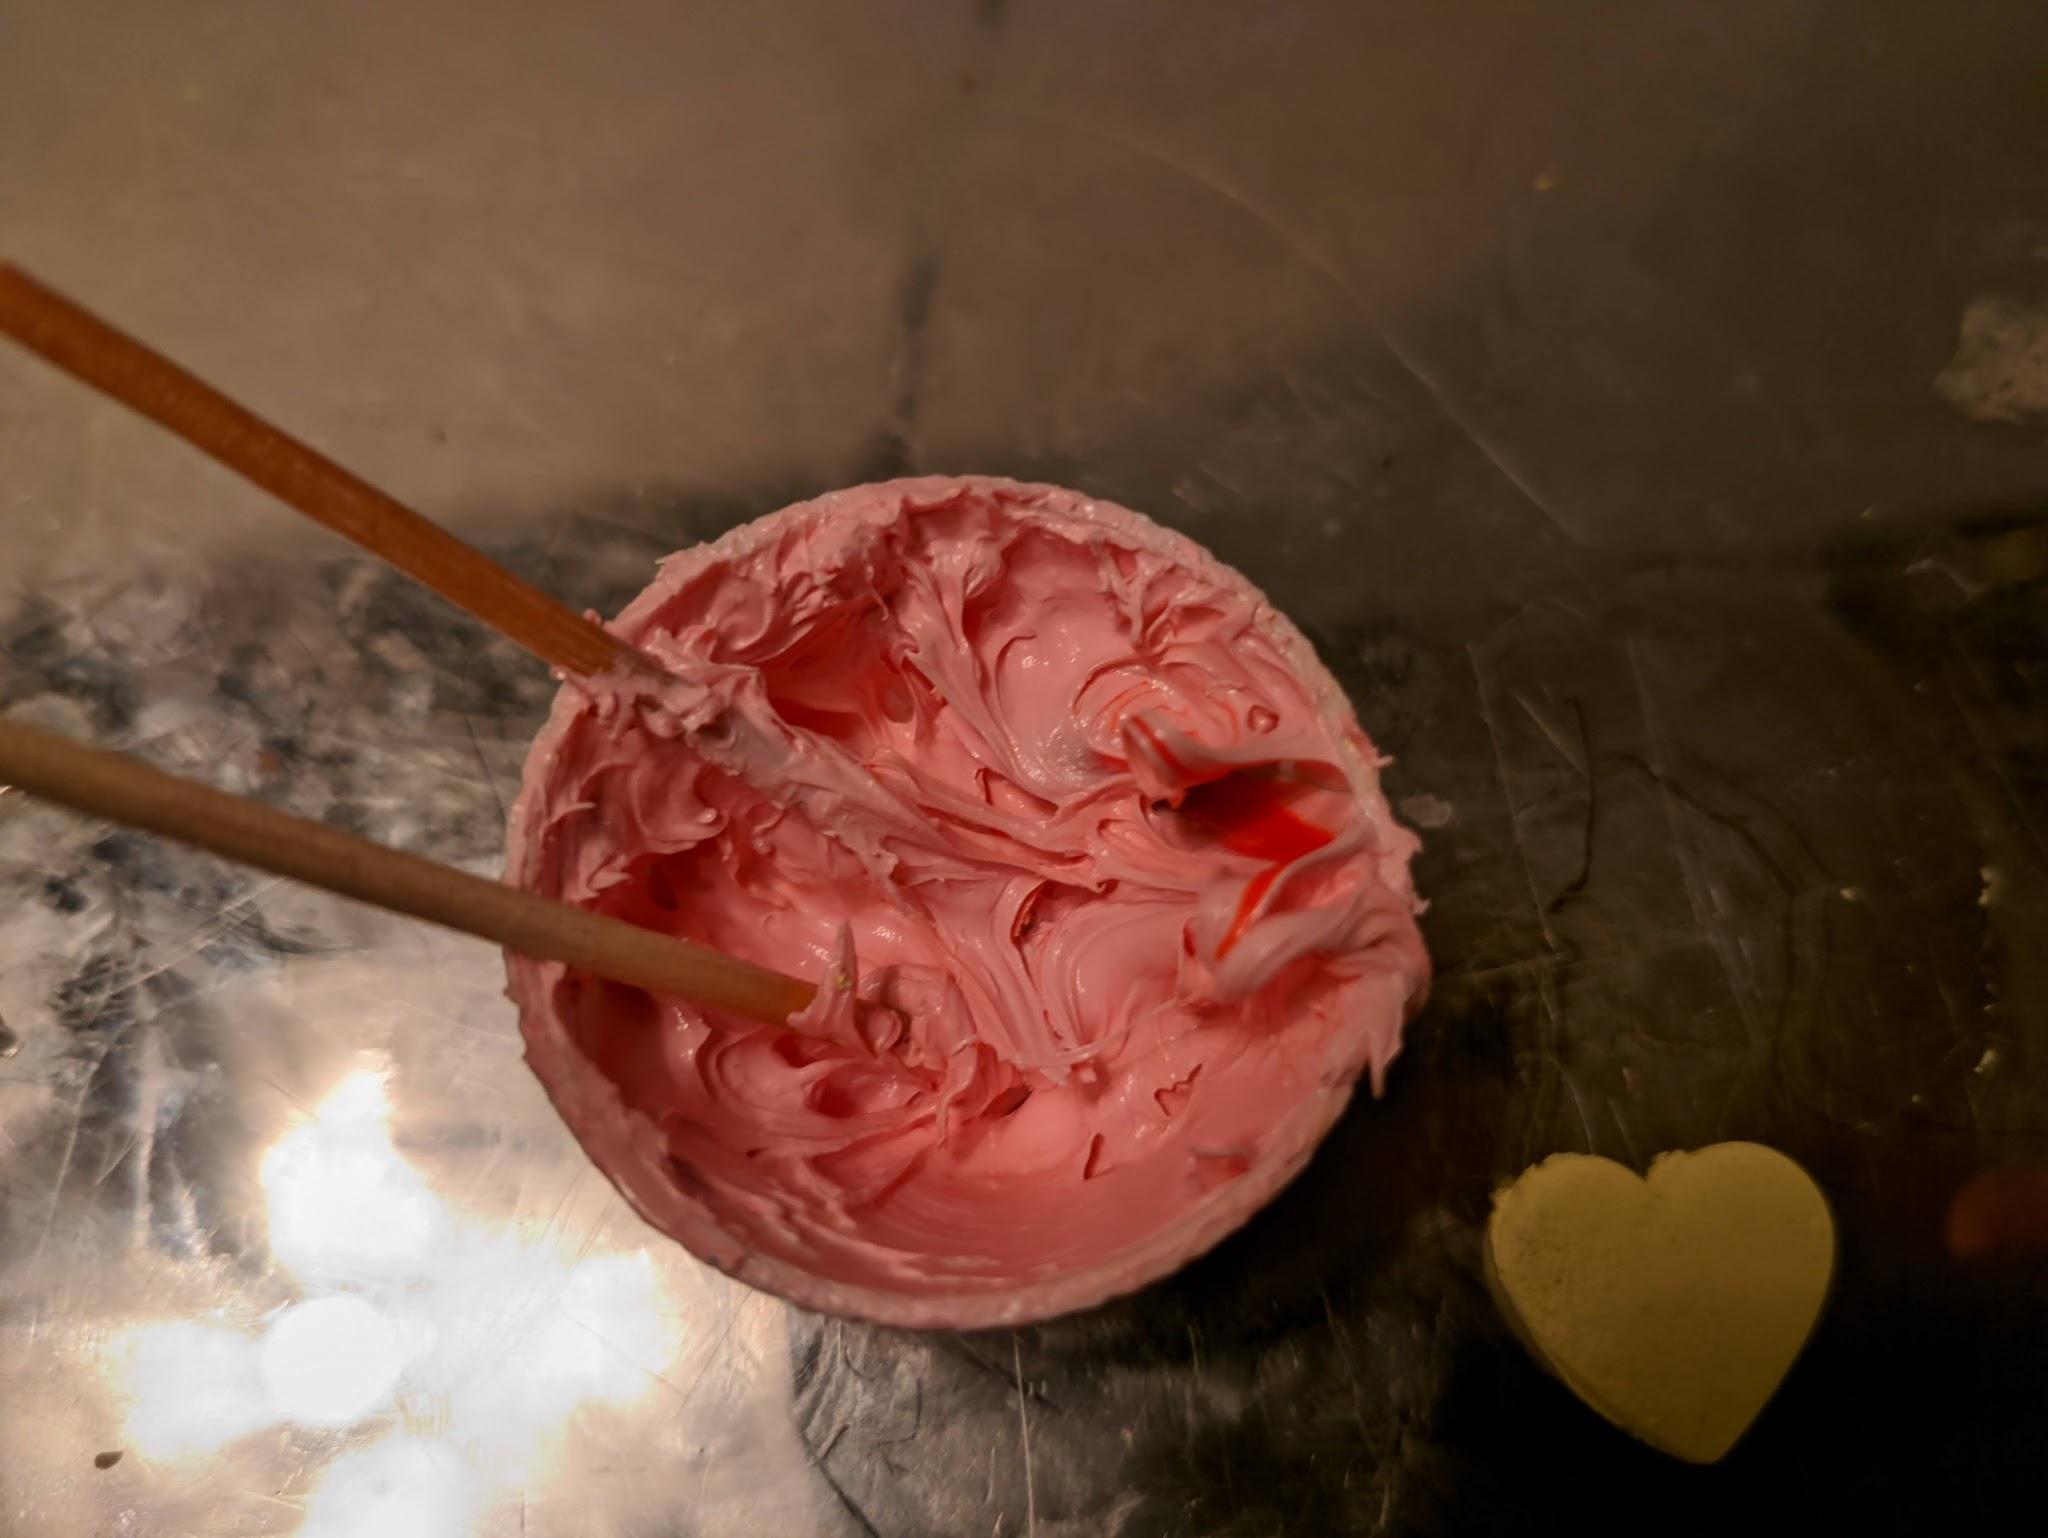
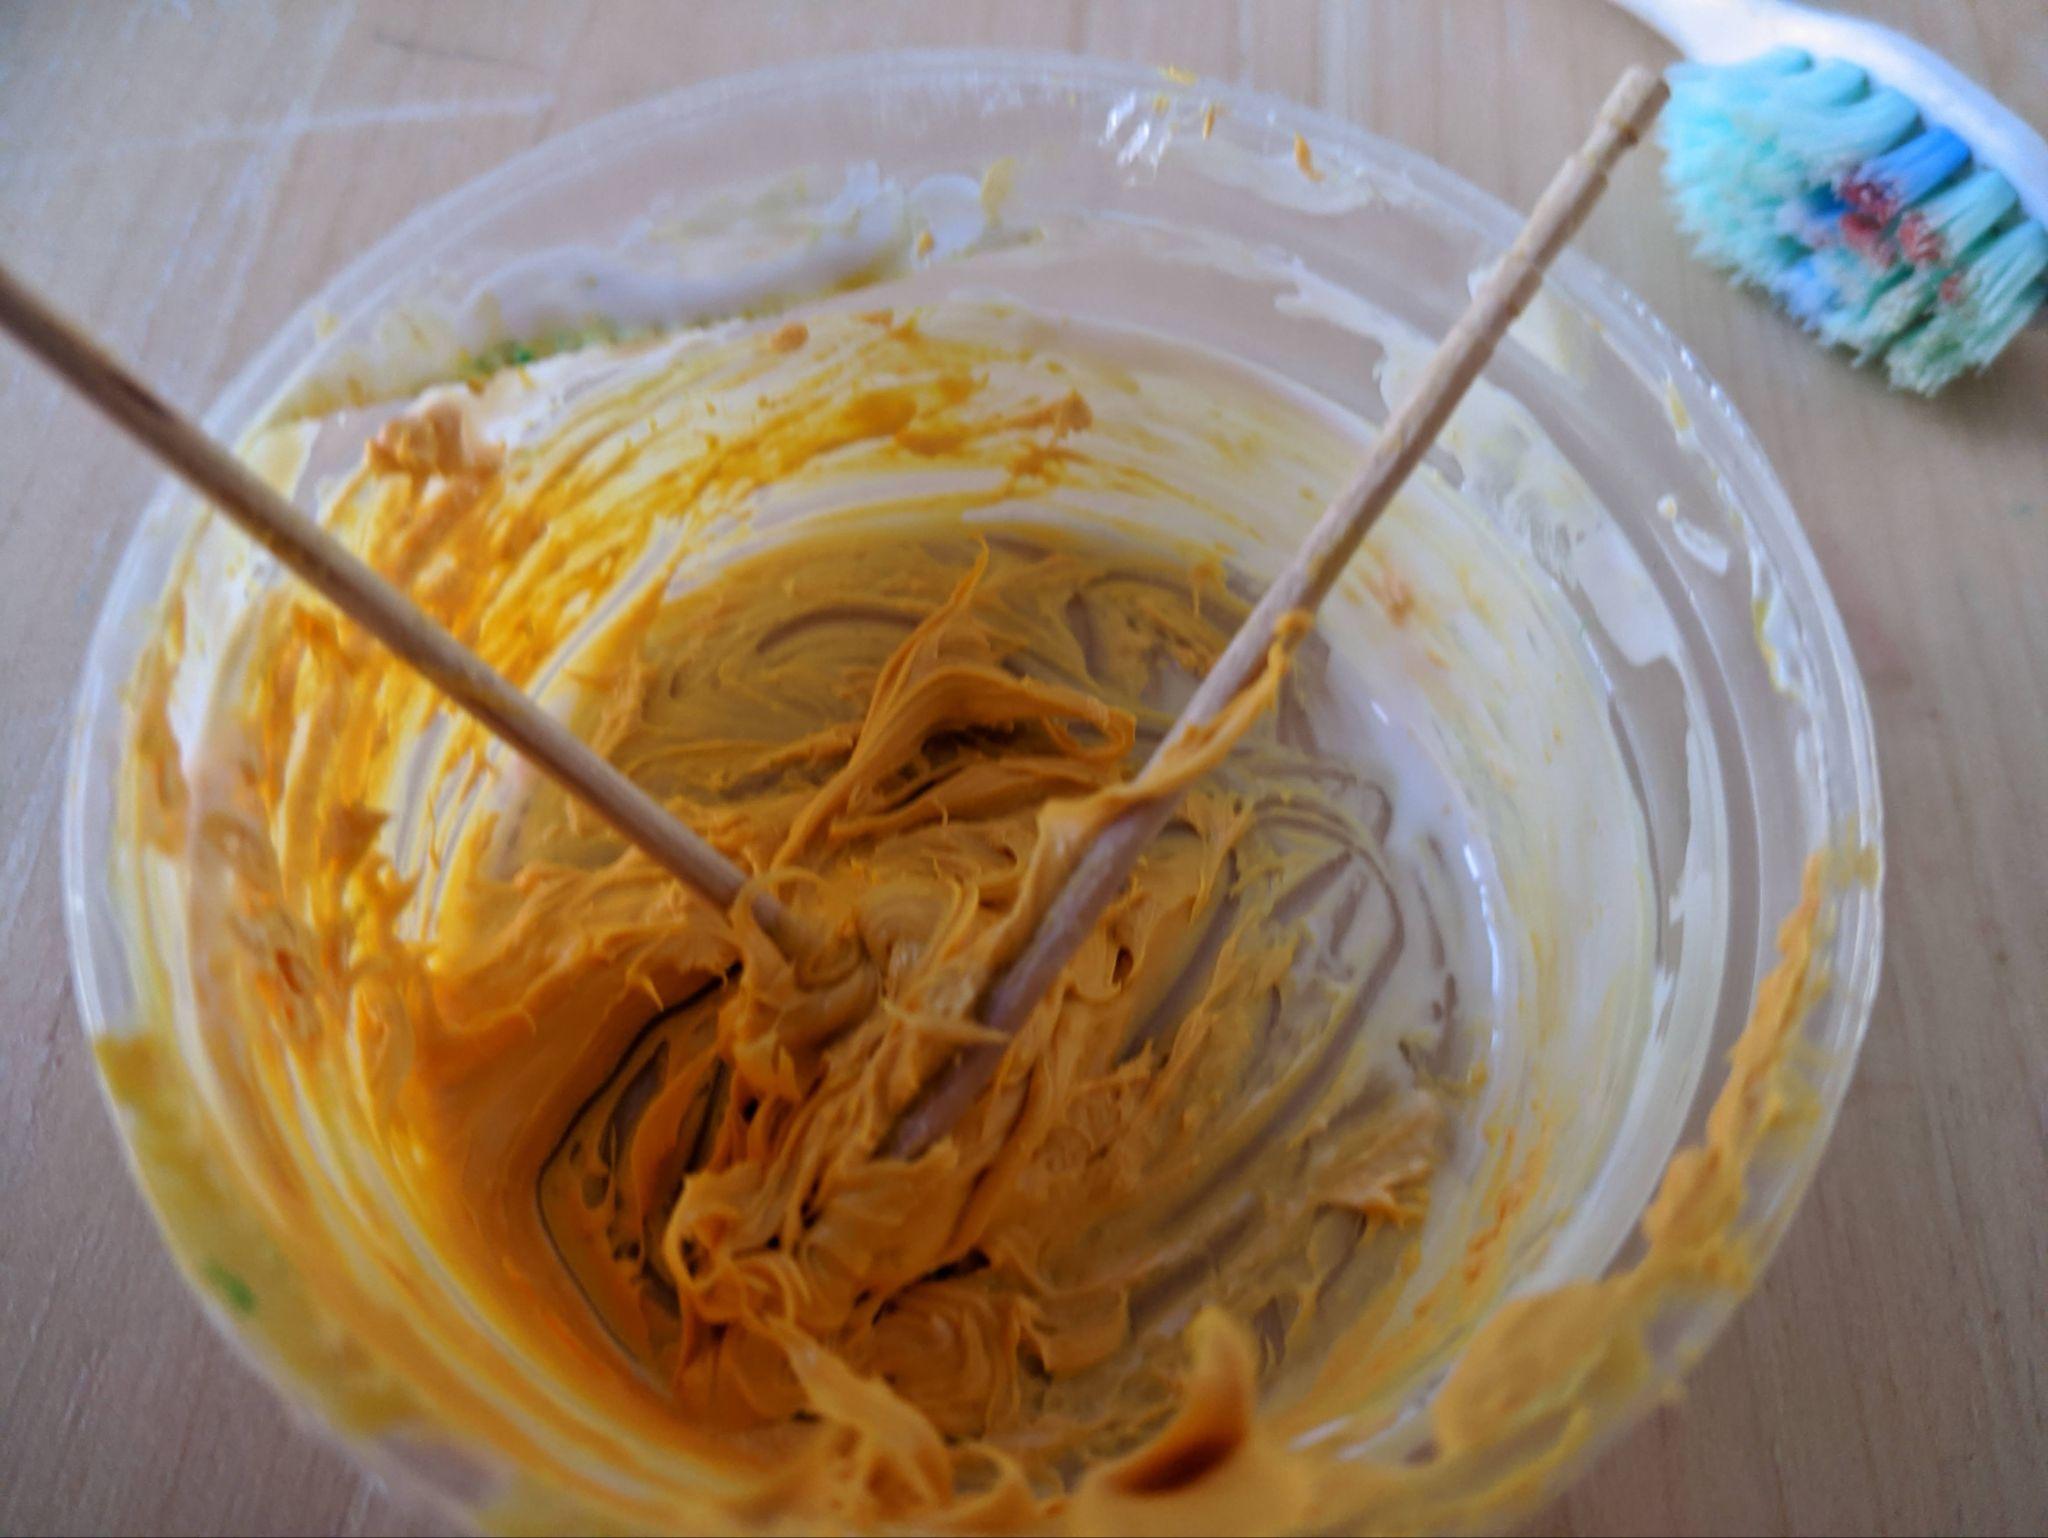
- • Making Creamy Frosting / Hummus: Knead beige or white solid clay until soft, place in a clean cap/dish, and stir in liquid polymer with a toothpick until creamy.
- • The Wet-Finger Technique: Dip your fingertip in water to smooth, shape, and tamp down sticky frosting without it clinging to your fingers!
Step-by-Step Method:
Combine liquid polymer with softened solid clay in a small dish or bottle cap using a toothpick to reach creamy dip or frosting consistency.
Dollop the mixture onto cookie bases or into serving dishes, guiding and swirling it with the toothpick tip.
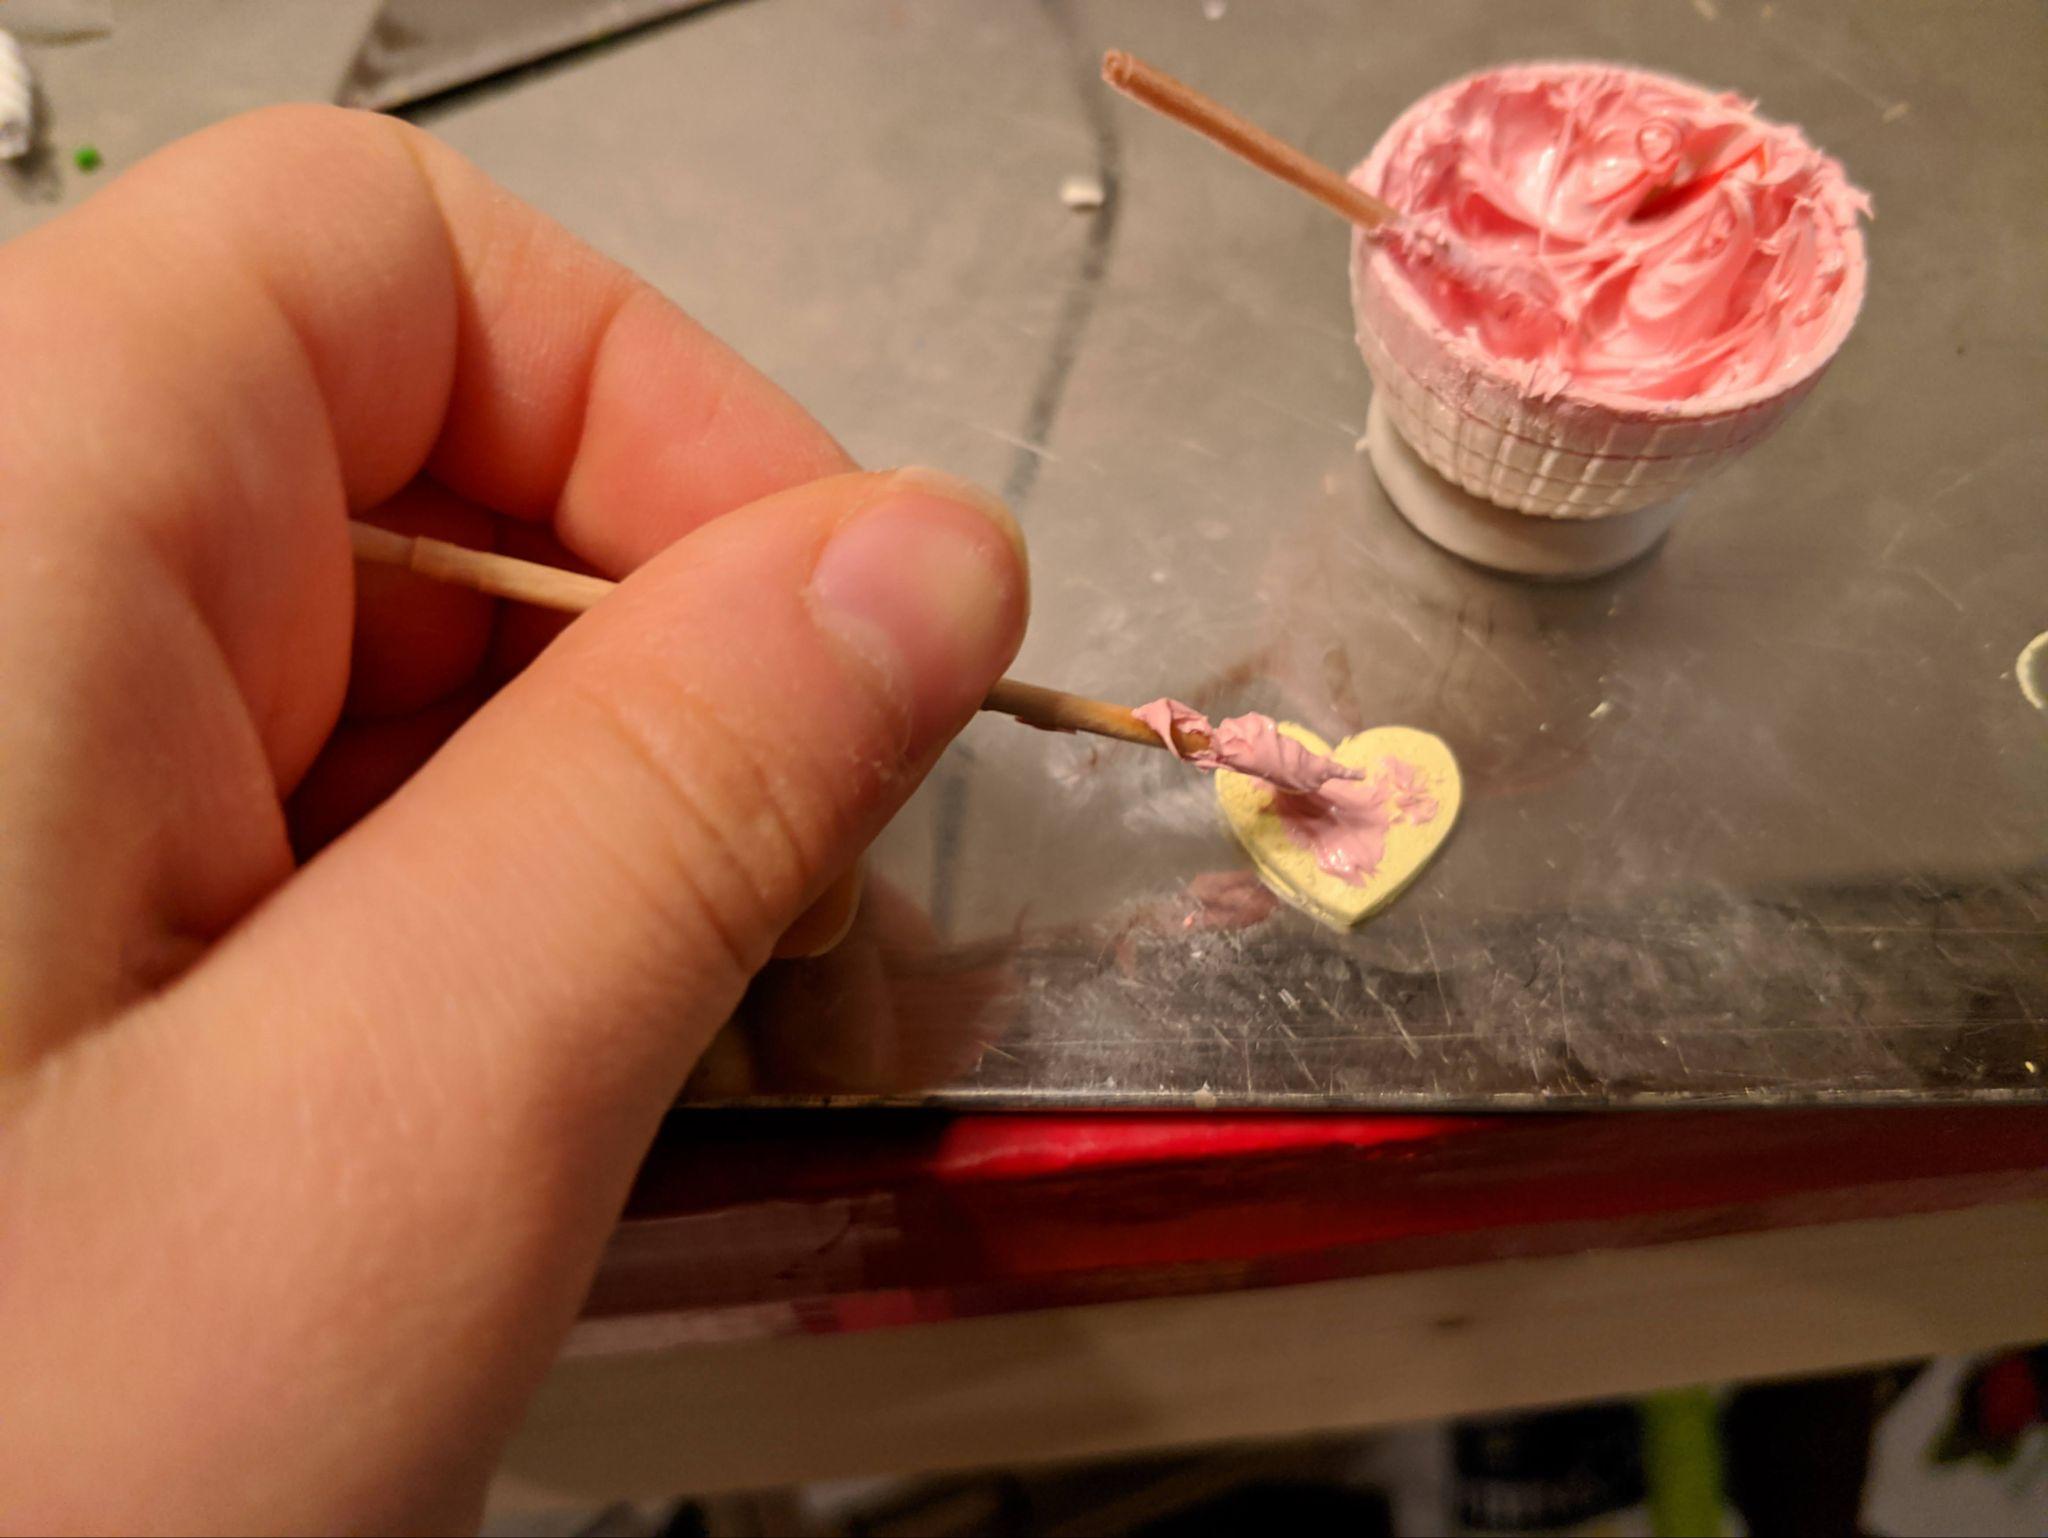
Lightly dampen your fingertip with water to smooth high spots and form a natural pillowy icing or dip surface.
Tools & Supplies Encyclopedia
What tools do you need to make the projects in this book? Here is the complete toolbox rundown.
Your Hands
The best sculpting tool! Used for warming, conditioning, rolling spheres, teardrops, and forming bases.
Toothpicks
Used for scratching crumb texture, opening bagel holes, placing tiny pupils, positioning toppings, unsmoothing hummus, and garden stakes.
Craft Blade (Tissue Blade)
Sharp, flexible metal blade for scoring bread crusts, cutting clean clay slabs, slicing extruded noodles, and trimming brie wedges.
Old Toothbrush
Stippling tool that imparts realistic micro-porous texture across graham crackers, bread crusts, cookies, and garden dirt.
Chalk Pastels & Small Paintbrush
Used to dust golden-brown roasted shading onto baked goods, bread crusts, bagels, pies, and cookies.
Sandpaper (Coarse Grit)
Pressed directly against raw clay to create natural granular texture for sunflower seed heads and garden soil.
Clay Extruder
Screw-action syringe with interchangeable pattern discs for squeezing long pasta noodles, ropes, and borders.
Rolling Pin (Acrylic / Hardwood)
Evenly rolls clay into smooth, flat sheets for graham cracker slabs, cookie dough, and brie wrappings.
Pasta Machine
This tool can be used for any project that requires rolling stuff out. It effortlessly conditions clay and rolls it into perfectly flat, uniform sheets of even thickness.
Bottle Cap / Small Mixing Container
Clean recycled milk bottle cap or small dish used to blend softened solid clay with liquid polymer for frostings and hummus dips.
Mini Star & Heart Cutters
Miniature cookie and craft cutters for stamping out heart-shaped cookies and 5-point star tomato foliage tops.
Plastic Wrap (Saran Wrap)
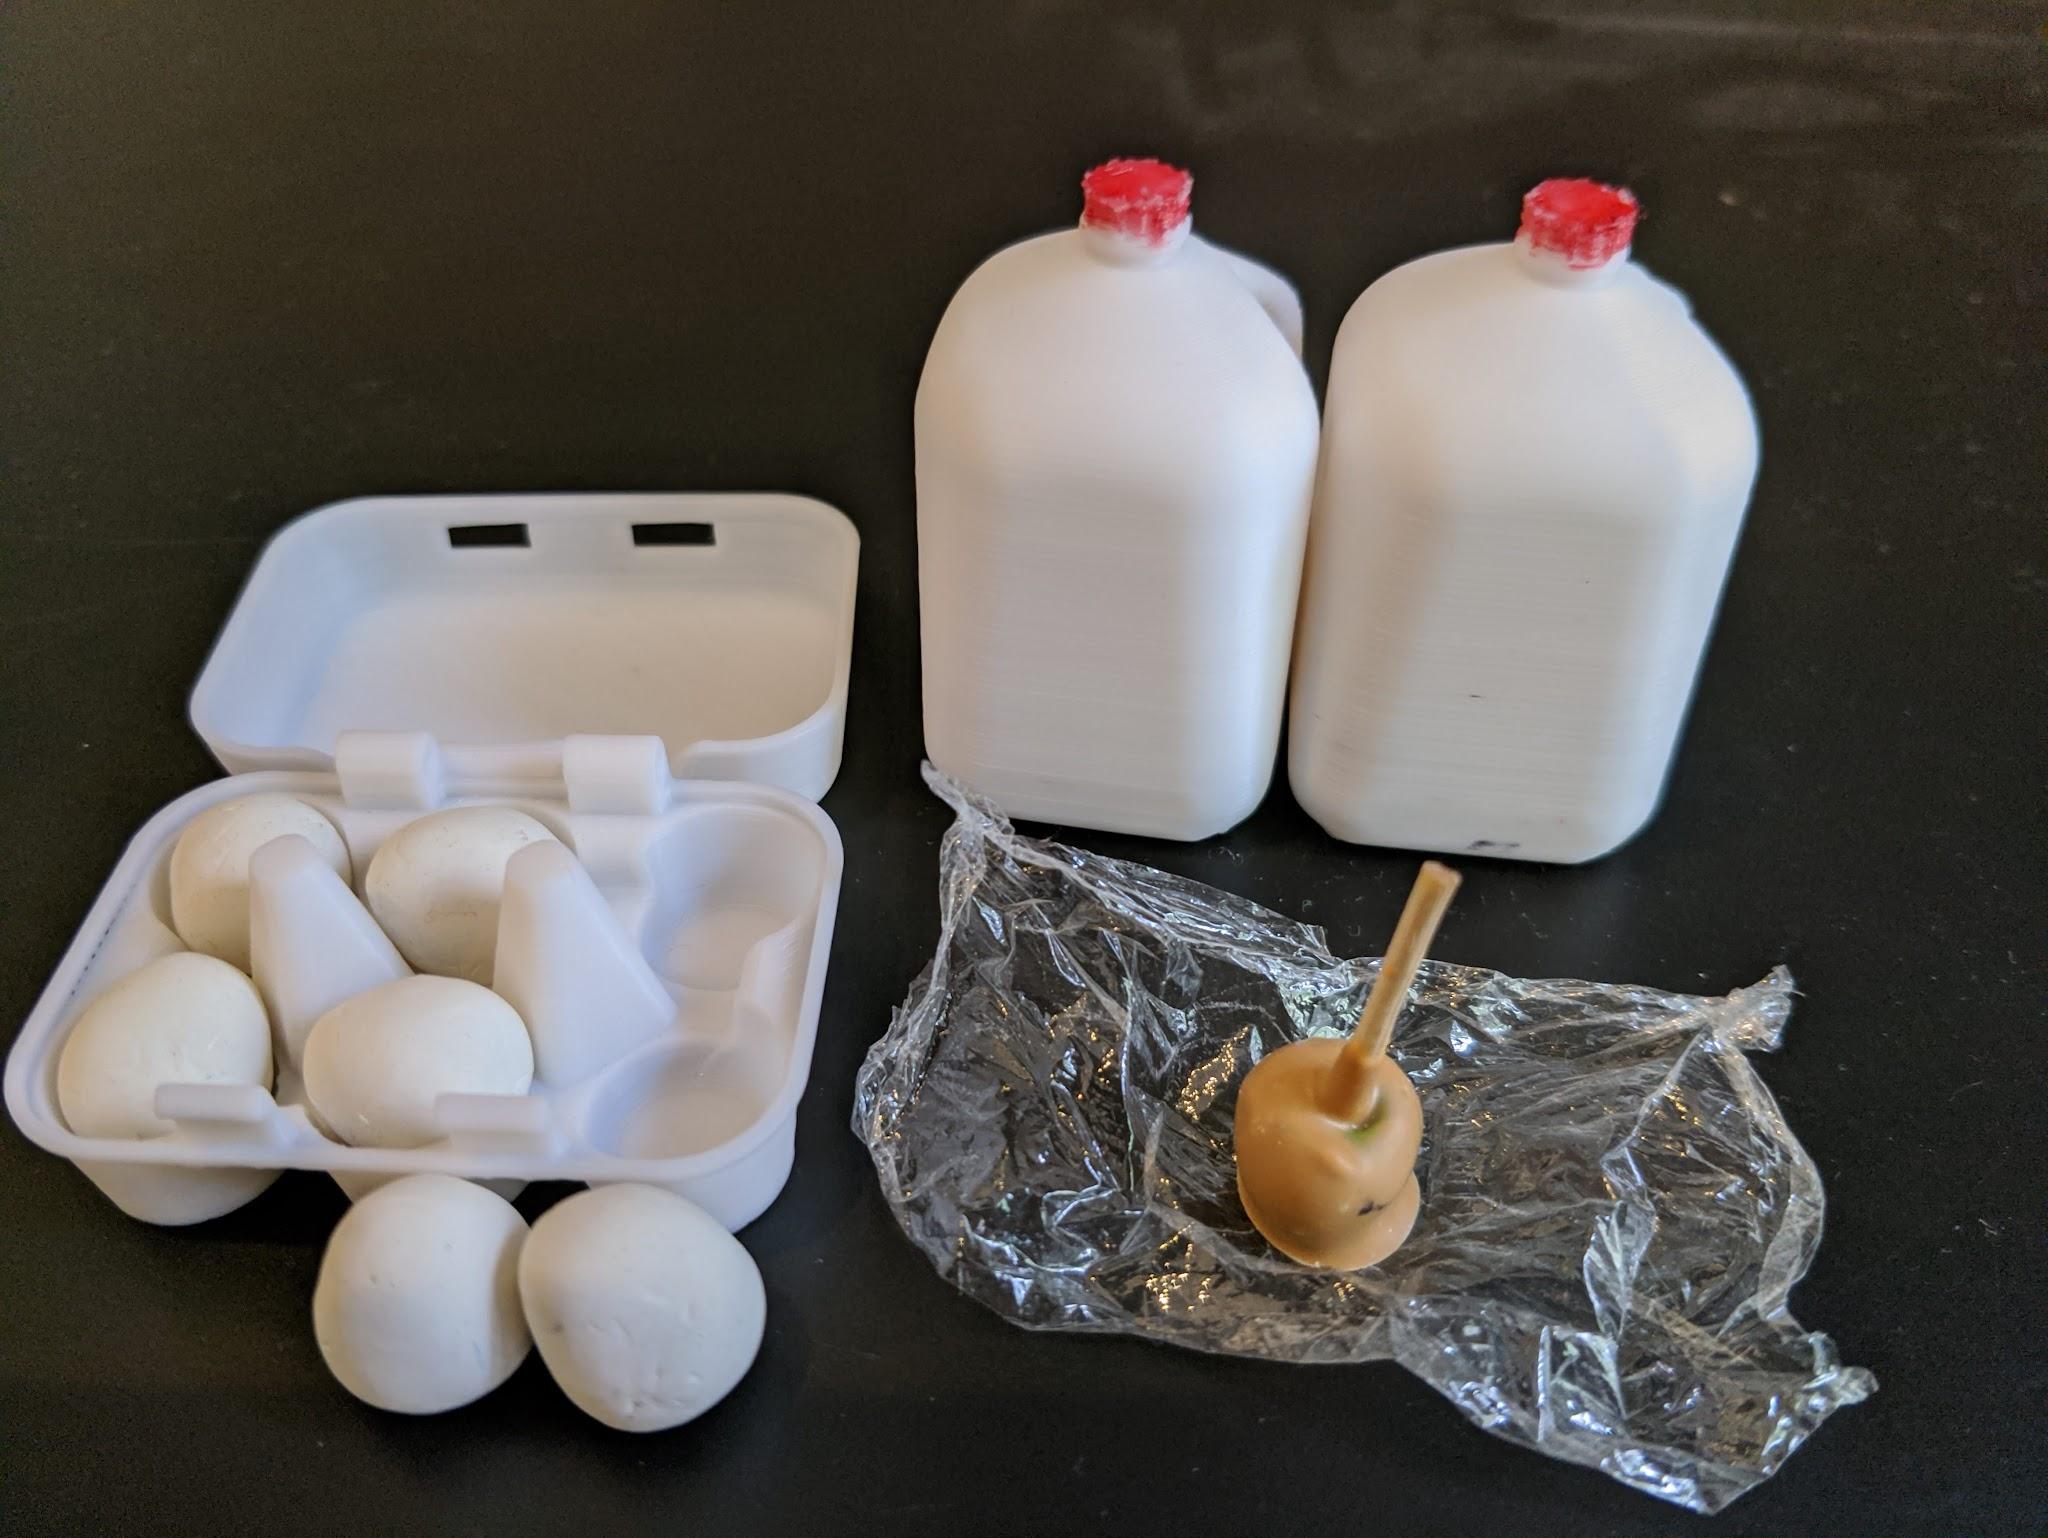
Used to wrap brie cheese wheels before placing in the freezer for 5-10 minutes for clean, un-squished slicing.