Clay Q&A Troubleshooting Doctor
Is your clay crumbling before you bake it? Does your baked clay look strange or brown? Find clear answers, root causes, and proven fixes.
Why does my mini dumpling look brown after baking, but before I baked it it was white?
White or pale miniature food pieces (such as dumplings, bread crumb, or marshmallows) turn dark brown, discolored, or scorched after oven curing.
The toaster oven temperature was set too high or the clay was baked for too long, causing the PVC polymers and plasticizers to scorch.
How Do I Fix It?
Lower your oven temperature to the lowest toaster oven setting (~200°F / 93°C) and reduce baking duration to approximately 5 minutes. Position pieces in the center of the oven away from heating elements.
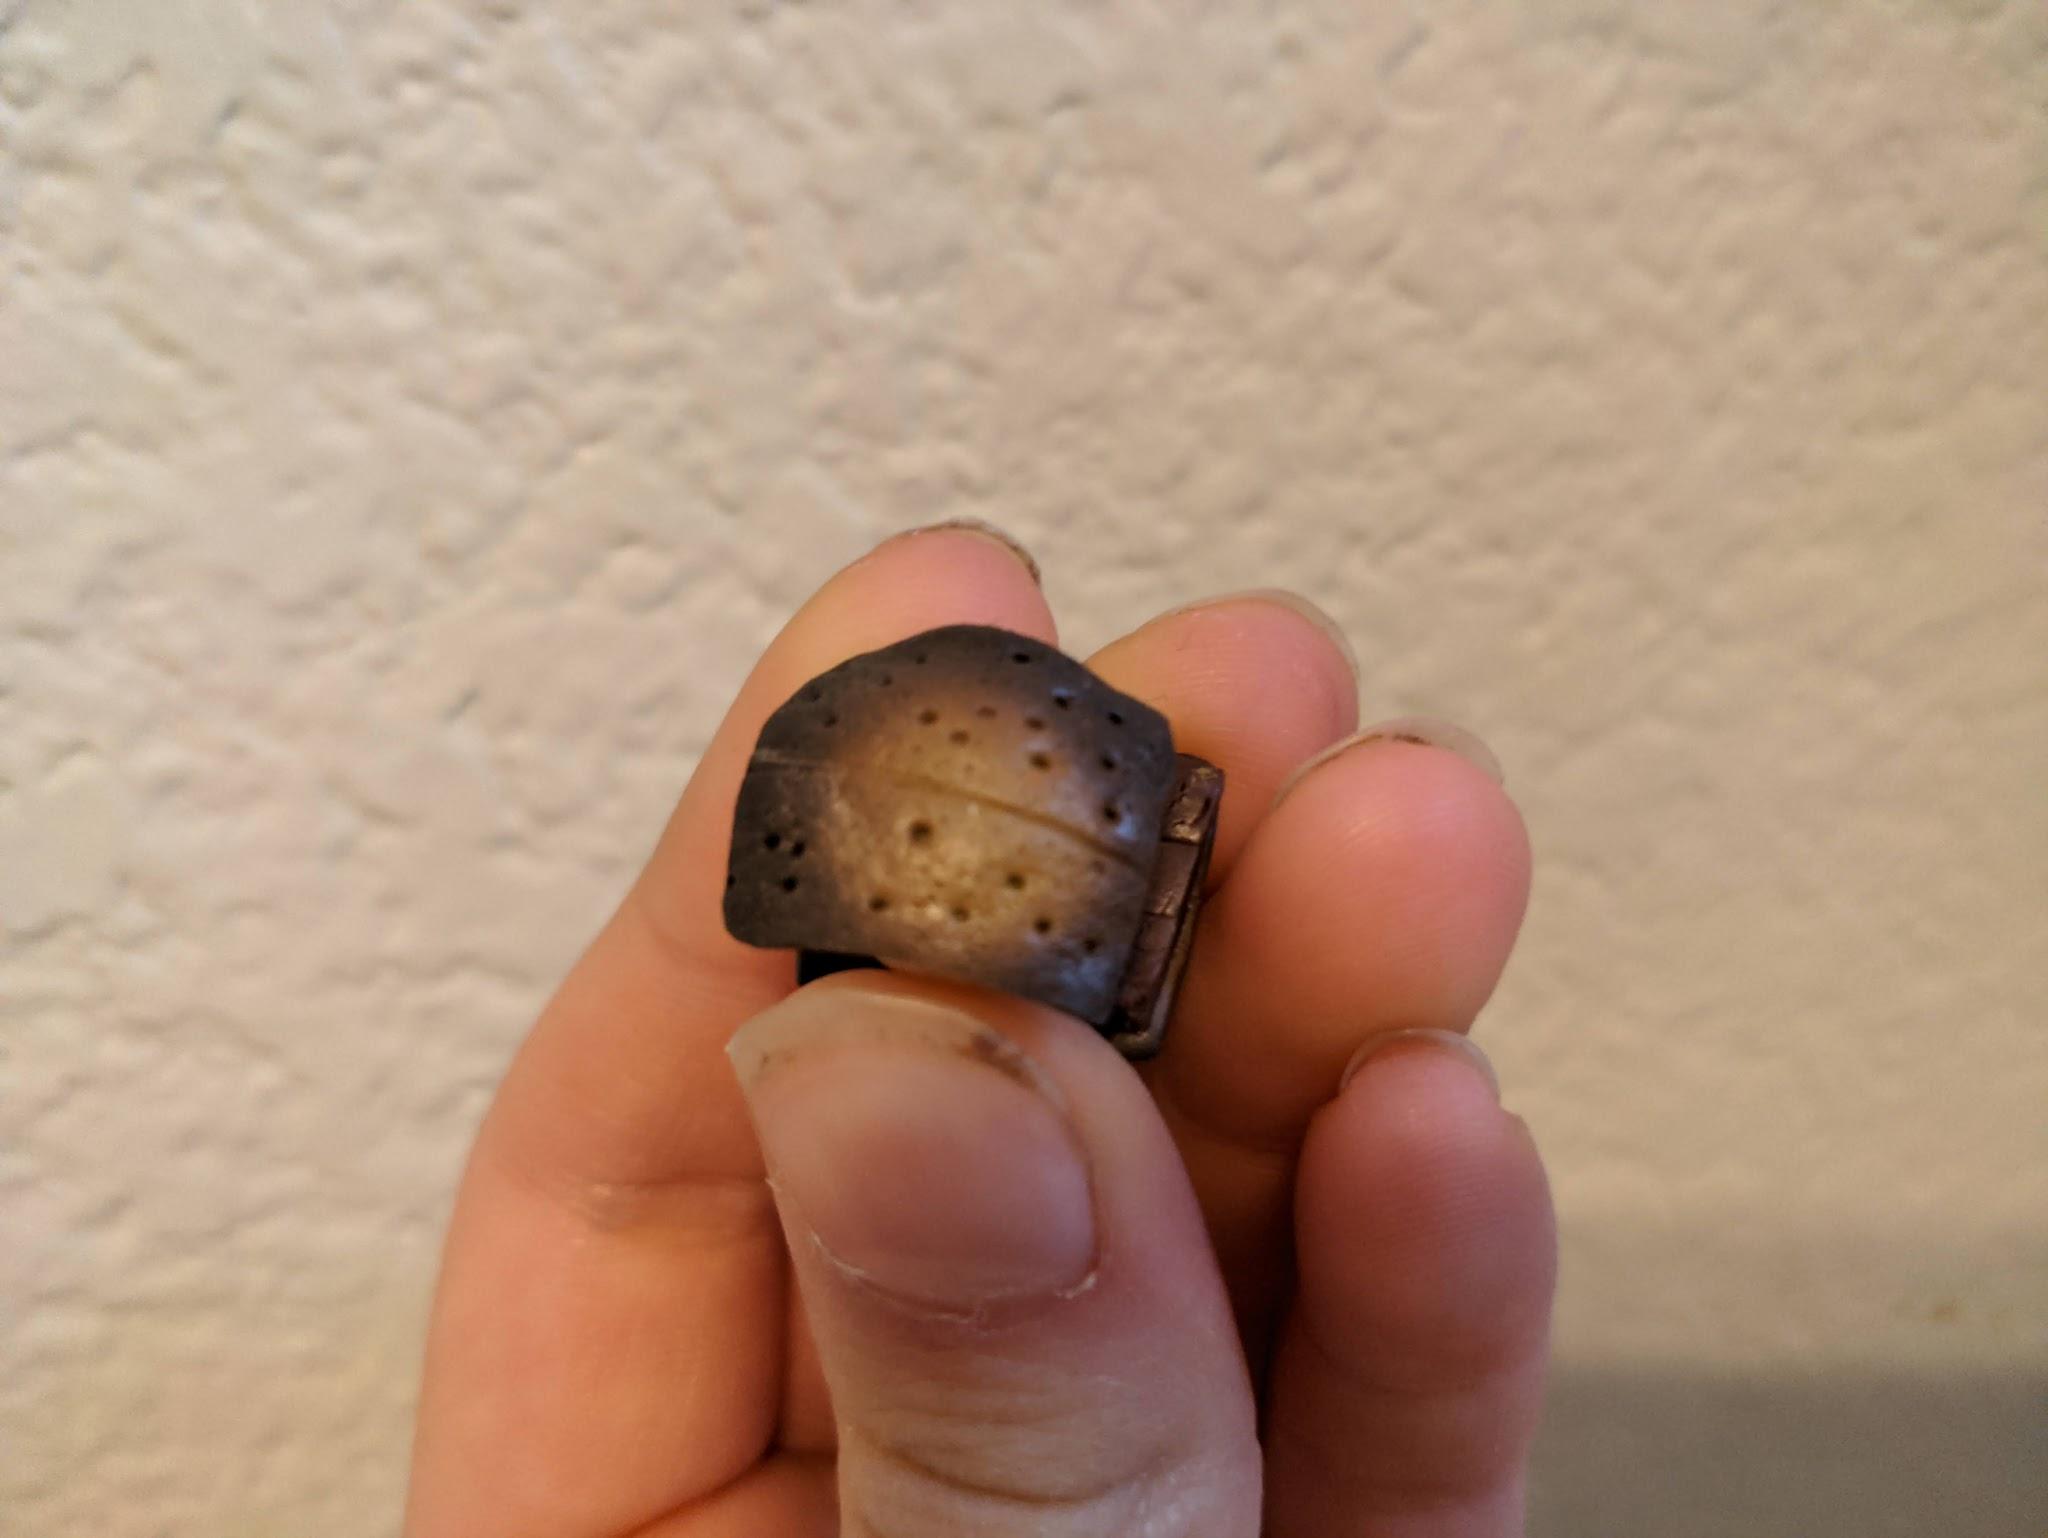
Example of an overbaked, discolored miniature s'more where high heat caused marshmallow scorching.
Why does my polymer clay crumble when I try to work with it?
Raw clay fractures into dry, flaky crumbs instead of smoothing into a pliable dough when rolled and kneaded.
The clay is old, or its liquid plasticizers have slowly evaporated/leached over time due to age or improper storage.
How Do I Fix It?
Try kneading in a single drop of water or clay conditioner. If the clay fails to coalesce after thorough hand warmth and conditioning, it is too old and unusable.
Conditioning Test
Always knead a single drop of water into crumbly clay first. If it cannot form a smooth ball after 3 minutes of warm hand kneading, it is time to open fresh clay.
How do I prevent my clay from breaking after baking?
Finished miniature pieces are brittle, snap easily, or separate at joints after cooling down.
Thermal stress during slow room-temperature cooling can weaken the polymer cross-links, or fragile multi-part joins lacked proper bonding.
How Do I Fix It?
The Cold Water Plunge: While the clay is still hot, immediately right after removing it from the oven, immerse the entire piece into a bowl of cold water for a few minutes!
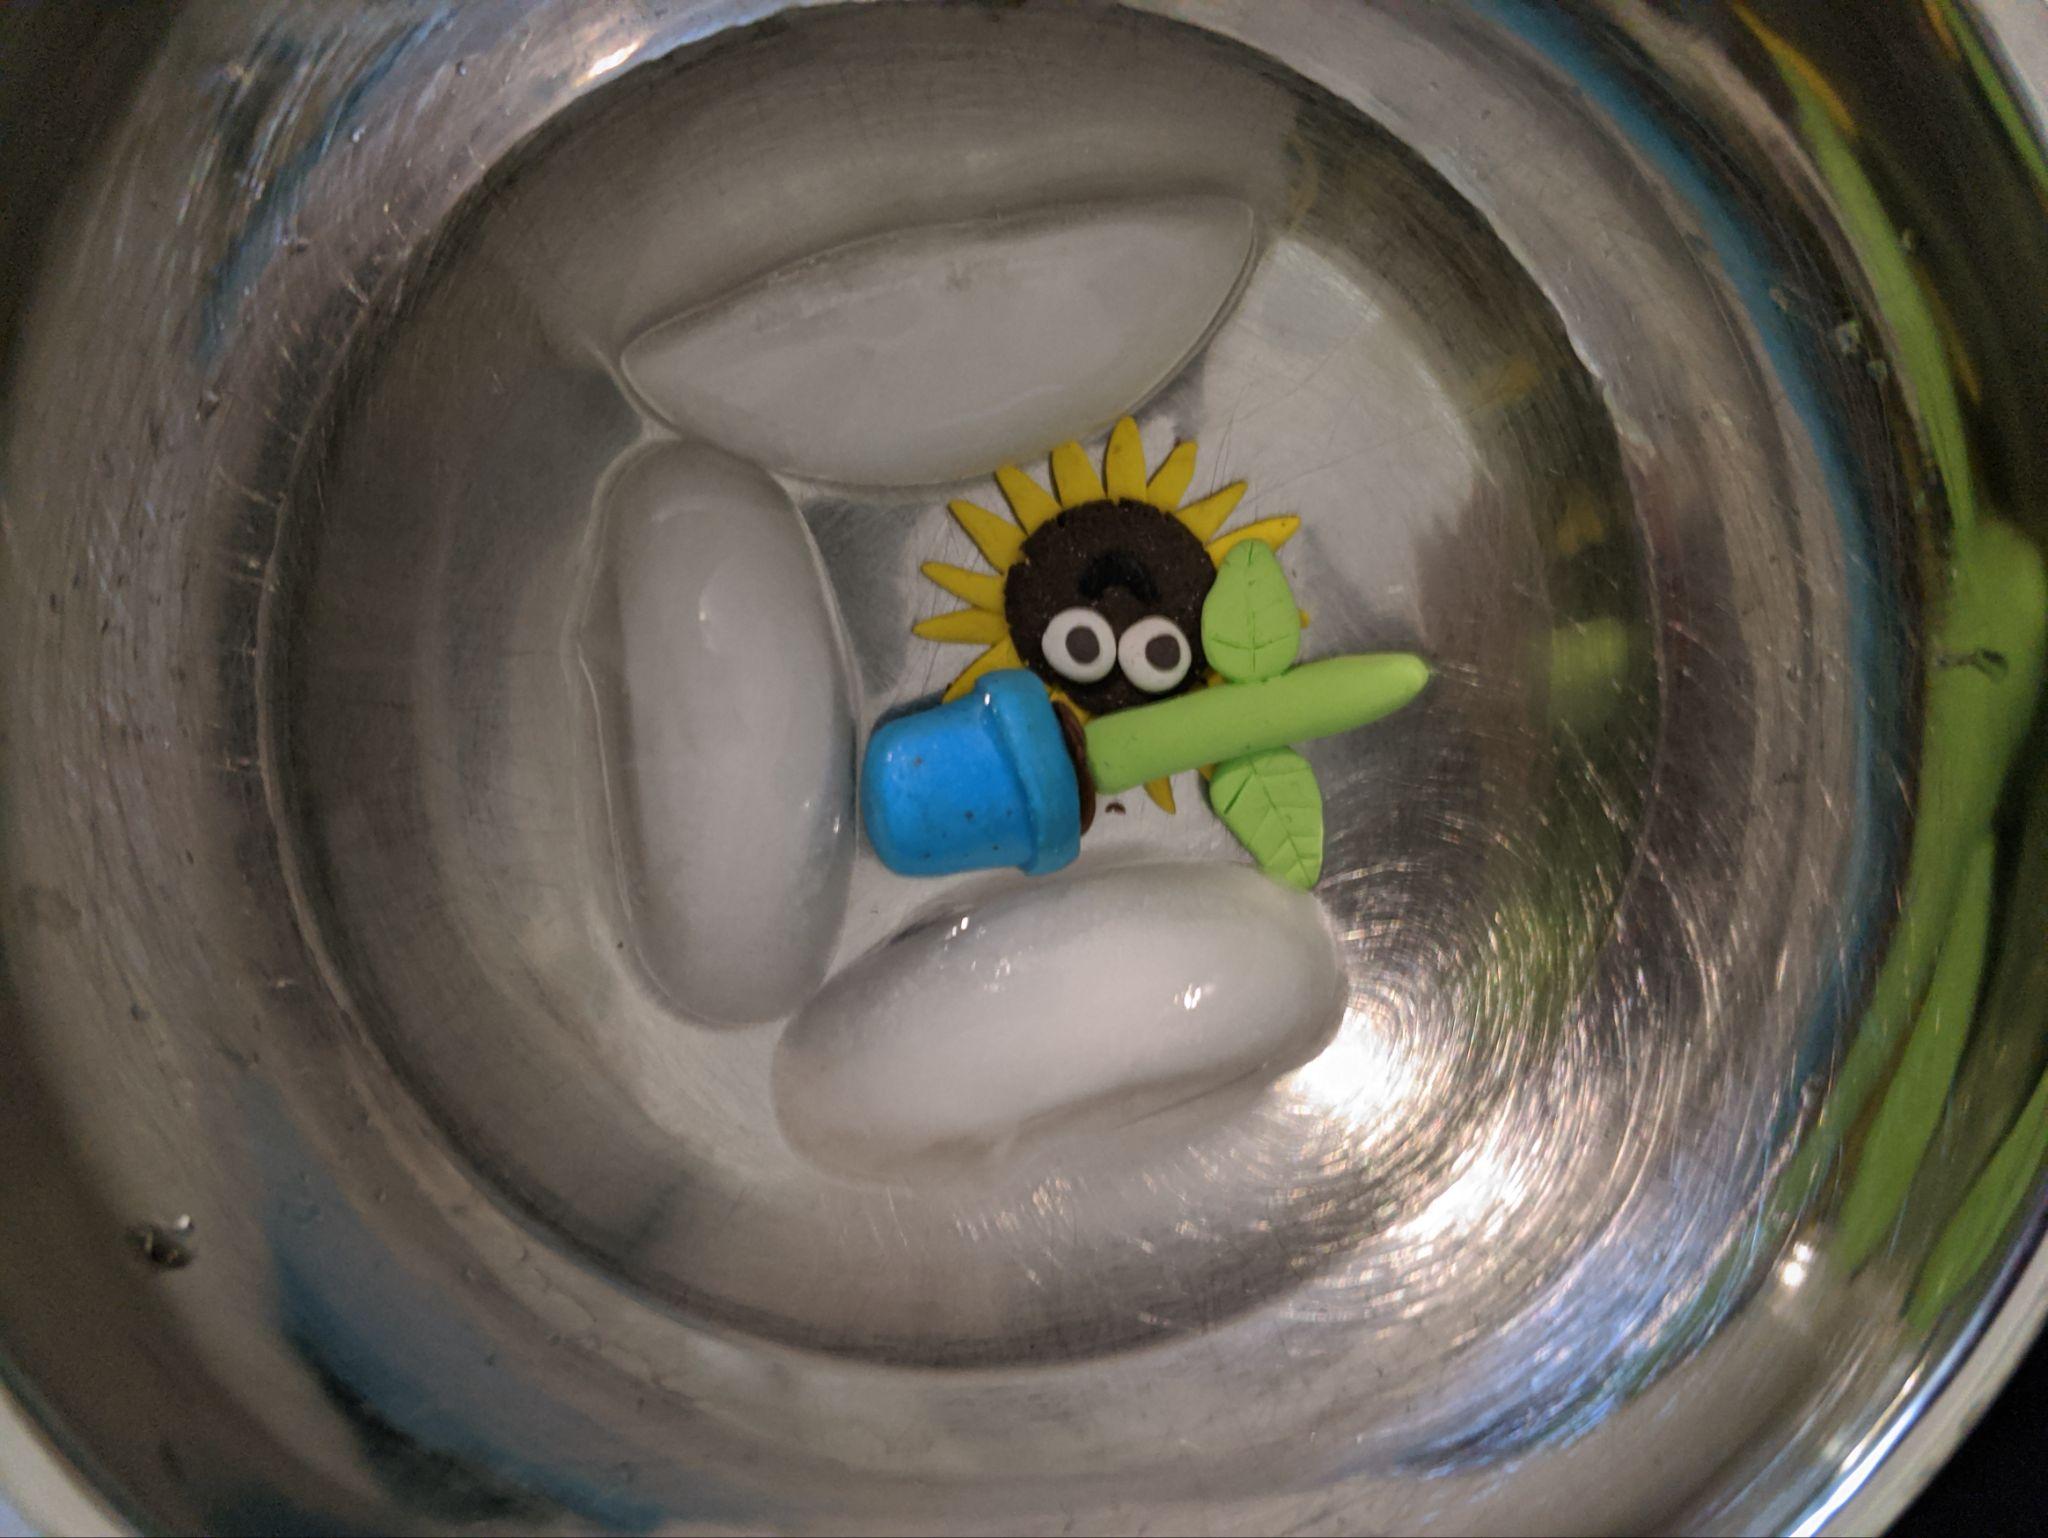
Placing hot freshly-baked clay directly into a bowl of cold water creates stronger, shatter-resistant pieces.